

Download Git for Flutter for Windows, Linux and macOS: Complete Step-by-Step Guide
If you are planning to learn Flutter or start building Flutter apps professionally, one of the first tools you need to install is Git. Many beginners think Git is optional, but in real Flutter development it is a foundational tool. Flutter’s installation flow for Windows explicitly lists Git for Windows as prerequisite software before setting up Flutter with VS Code, and the broader Flutter install documentation continues to recommend an editor-based or manual setup around the Flutter SDK and standard developer tooling.
Git is a free and open source distributed version control system used to track code changes, collaborate with teams, manage project history, and work with platforms like GitHub and GitLab. For Flutter developers, Git becomes useful very early: cloning sample projects, maintaining app versions, testing branches, rolling back mistakes, and backing up production code. The official Git site describes Git as a fast distributed version control system designed to handle projects efficiently at any scale.
In this guide, you will learn how to download and install Git for Flutter on Windows, Linux, and macOS, how to verify the installation, how to configure Git for first-time use, and why Git matters in a Flutter workflow. The steps below are based on official Flutter and Git documentation so the process stays current and reliable.
Why Git is important for Flutter developers
Git is not only for large software teams. Even if you are building a Flutter app alone, Git helps you keep a reliable development history. You can create checkpoints before major UI changes, experiment on new branches, recover old code, and safely manage app updates. Flutter projects are regular source code repositories, and Git is the industry-standard system for version control across mobile, web, and desktop apps.
Flutter’s install guide for Windows specifically asks users to install Git before installing Flutter with VS Code. The manual Flutter setup guide also repeats Git for Windows as a prerequisite. That is a strong signal that Git should not be treated as an afterthought in a Flutter setup.
What you need before downloading Git
Before starting, make sure you know:
- which operating system you are using
- whether you want terminal-only Git or a full GUI-assisted install
- whether Flutter will be used with VS Code, Android Studio, or another editor
Git’s official install pages provide separate instructions for Windows, macOS, and Linux. On Linux, the recommended method is usually the distribution’s package manager. On macOS, Git suggests options such as Homebrew or MacPorts, while older first-run terminal prompts may also install command-line tools depending on the system. On Windows, the official Git for Windows installer is the standard route.
How to download Git for Flutter on Windows
For Windows users, the most common path is Git for Windows. The Git install page for Windows offers the current maintained installer and lists recent builds, including architecture-specific options such as x64 and ARM64. At the time of checking, the Git site lists 2.53.0 as the latest version and shows the latest x64 Git for Windows build released on March 10, 2026.
Step 1: Download Git for Windows
Go to the official Git for Windows install page and download the appropriate installer for your system architecture. The official Git documentation also notes that going to the Windows download page starts the download automatically in the standard flow.
Step 2: Run the installer
Open the downloaded installer and continue through the setup wizard. For most Flutter beginners, the default options are good enough. Git for Windows is the standard maintained distribution for Windows users and is the recommended way to install Git on Windows according to the Git documentation.
Step 3: Finish installation
After installation completes, open Command Prompt or PowerShell and check:
git --version
If Git is installed correctly, it should print the installed version. The Git documentation treats version checks and command availability as the normal way to verify a successful installation.
Step 4: Why this matters for Flutter on Windows
Flutter’s official VS Code install flow for Windows names Git for Windows as a prerequisite before installing Flutter and Visual Studio Code. So if your Flutter setup is on Windows, Git should come first in your toolchain.
How to download Git for Flutter on macOS
On macOS, Git’s install page lists several installation options. The simplest modern approach for many developers is Homebrew, using brew install git. The Git docs also note that non-source distributions may be provided by third parties and may not always be as current as the latest source release.
Step 1: Choose your installation method
Git’s macOS page recommends one of several options:
- Homebrew
- MacPorts
- source-based installation
For most Flutter developers, Homebrew is the easiest long-term option because it also helps manage many other development tools.
Step 2: Install using Homebrew
If Homebrew is already installed, run:
brew install git
This is the exact command shown on Git’s macOS installation page.
Step 3: Verify Git on macOS
Open Terminal and run:
git --version
If the version appears, Git is ready to use. Git’s documentation consistently treats command-line verification as the standard confirmation step.
Step 4: Alternative macOS route
The Pro Git documentation notes that on macOS, simply running git in Terminal for the first time may prompt installation of Apple’s command-line developer tools if they are not already installed. That can also provide Git in some setups, though Homebrew remains cleaner for users who want explicit package control.
How to download Git for Flutter on Linux
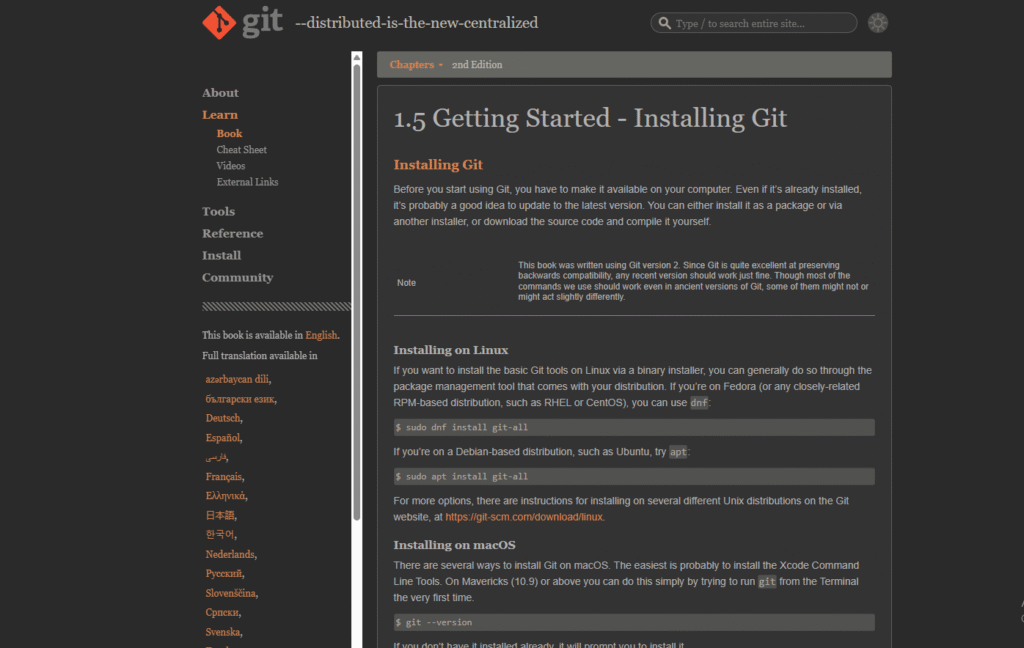
On Linux, Git’s install guidance says the easiest way is to use your distribution’s package manager. The Git install page specifically lists package-manager workflows for systems such as Debian and Ubuntu, and also mentions an Ubuntu PPA for newer stable upstream Git versions.
Step 1: Open terminal
Open your Linux terminal.
Step 2: Install Git using your package manager
For Debian or Ubuntu, Git’s official page shows:
sudo apt-get install git
It also mentions that Ubuntu users can use the Git Core PPA and then run:
sudo apt update
sudo apt install git
for newer stable upstream versions.
Step 3: Verify Git on Linux
Run:
git --version
If the version appears, Git installation is complete.
Step 4: Why Linux users should still care for Flutter
Flutter supports Linux desktop development, and Flutter’s desktop support documentation confirms native compilation support for Linux desktop apps along with plugin support. Even if you mainly target Android, Git remains useful for project management, collaboration, and branch-based development on Linux systems.
How to verify Git after installation
Once Git is installed on any operating system, verify it with:
git --version
Then check whether Git is callable from your terminal environment. If the command works, Git is correctly installed and added to the command path. This is the most basic and most reliable verification method across Windows, Linux, and macOS.
First-time Git setup for Flutter developers
After installing Git, you should configure your identity. The Pro Git documentation explains that Git includes a git config tool to set configuration variables that control how Git operates. These can be stored at different levels, including system-wide, global, and repository-specific scopes.
Set your name:
git config --global user.name "Your Name"
Set your email:
git config --global user.email "you@example.com"
These settings are especially important before making your first commit in a Flutter project. Git uses them to attach authorship metadata to your commits. The official Git setup documentation describes git config as the primary way to manage such values.
How Git fits into a Flutter workflow
Once Git is installed, the most common Flutter-related actions include:
- cloning Flutter sample projects
- creating a repository for your app
- committing progress after feature changes
- using branches for experiments
- collaborating through GitHub or GitLab
Git’s user manual and reference documentation cover the core command families for setup, creating projects, branching, merging, inspecting history, and sharing updates. Those are the same workflows Flutter developers use in real app projects.
A simple beginner flow looks like this:
git init
git add .
git commit -m "Initial Flutter project setup"
And if you are cloning a project:
git clone <repository-url>
These are foundational commands in Git’s documented workflows around getting and creating projects.
Common problems when downloading Git for Flutter
Many users do not face issues while installing Git itself. Most problems happen after installation.
Git command not recognized
This usually means Git is either not installed correctly or its executable path is not available in your terminal session. Restarting the terminal after installation often helps on Windows.
Wrong installer downloaded on Windows
Make sure you install the correct build for your system, such as x64 or ARM64, because Git for Windows provides architecture-specific downloads.
Using outdated third-party macOS packages
Git’s macOS install page notes that non-source distributions may be third-party maintained and may not always match the latest source release. Homebrew is often the cleaner route for many developers.
Linux package manager installs an older Git version
That can happen depending on your distro release. Git’s Linux page explicitly notes that on Ubuntu, the Git Core PPA can provide a newer stable upstream version.
Is Git mandatory for Flutter?
For many practical Flutter setups, especially on Windows, Git should be treated as required because Flutter’s setup flow says to install Git for Windows before proceeding with the editor-based setup. Even when not technically blocking every possible custom setup, Git is still a core developer tool for maintaining code, managing collaboration, and working with repositories.
Read : Flutter Installation and SDK Setup Guide Using VS Code in 2026
Best practices after installing Git for Flutter
After Git is installed, a smart next sequence is:
- install VS Code
- install the Flutter extension
- install the Flutter SDK
- verify with
flutter doctor - create your first Flutter project
- initialize or clone a Git repository
Flutter’s install docs strongly center the workflow around editor setup, SDK setup, and verification, which makes Git one of the earliest pieces in a clean Flutter environment.
Read: How to Build Your First App with Flutter: Beginner-Friendly Step-by-Step Tutorial
Final thoughts
If you want a smooth Flutter setup on Windows, Linux, or macOS, start by installing Git the right way. On Windows, use the Git for Windows installer. On macOS, Homebrew is one of the cleanest routes. On Linux, the package manager is usually the easiest option. After installation, verify with git --version, configure your name and email with git config, and then continue with your Flutter setup. Flutter’s own installation guidance for Windows makes Git a prerequisite, and Git’s official installation pages provide a clean path for every major desktop platform.
FAQ
On Windows, Flutter’s official VS Code and manual installation guides explicitly list Git for Windows as prerequisite software. In practice, Git is a core tool for most Flutter development workflows.
Use the latest stable version from the official Git install pages for your platform. At the time of checking, Git’s install pages list version 2.53.0.
Open your terminal and run git --version. If Git prints a version number, the installation is working.
Yes. Git’s official macOS page lists multiple options, including Homebrew and MacPorts, and some systems may also prompt command-line tool installation when git is first run.
Git’s official Linux install page says the easiest method is your distribution’s package manager. For Debian or Ubuntu, apt-get install git is the standard path.
Git helps you track changes, recover old code, experiment safely, and maintain project history even when working solo. That makes it valuable for both beginners and professionals.