

How to Use flutter_bloc in Flutter with Full Example (2026 Guide)
Introduction
In modern Flutter development, effective state management is crucial. The flutter_bloc package provides a powerful and structured way to manage complex UI states by following the Business Logic Component (BLoC) pattern.
Whether you’re working on a small app or a large-scale project, flutter_bloc helps you write clean, testable, and maintainable code.
Why Learn flutter_bloc in 2025?
| Reason | Benefit |
|---|---|
| Scalable architecture | Clean separation of UI and business logic |
| Easily testable | Logic is decoupled and test-friendly |
| Enterprise-ready | Widely used in production-grade apps |
| Reusable logic | State logic can be reused across multiple components |
| Maintained by experts | Backed by the team at Very Good Ventures |
Real-Life Use Cases
- Authentication flows
Handle login, logout, and token refresh. - E-commerce apps
Add or remove items from cart, manage quantities. - Content apps
Fetch articles, load more content, cache data. - Multi-step forms
Maintain form state across multiple screens. - Global state
Dark/light theme toggles, language settings, etc.
Getting Started with flutter_bloc
Step 1: Add Dependencies
yamlCopyEditdependencies:
  flutter_bloc: ^8.1.3
  equatable: ^2.0.5
Step 2: Define Bloc Structure
CounterEvent
abstract class CounterEvent {}

class Increment extends CounterEvent {}

class Decrement extends CounterEvent {}
CounterState
import 'package:equatable/equatable.dart';

class CounterState extends Equatable {
  final int value;

  const CounterState(this.value);

  @override
  List<Object> get props => [value];
}
CounterBloc
import 'package:flutter_bloc/flutter_bloc.dart';

class CounterBloc extends Bloc<CounterEvent, CounterState> {
  CounterBloc() : super(const CounterState(0)) {
    on<Increment>((event, emit) => emit(CounterState(state.value + 1)));
    on<Decrement>((event, emit) => emit(CounterState(state.value - 1)));
  }
}
Step 3: Use Bloc in Your Widget
import 'package:flutter/material.dart';
import 'package:flutter_bloc/flutter_bloc.dart';
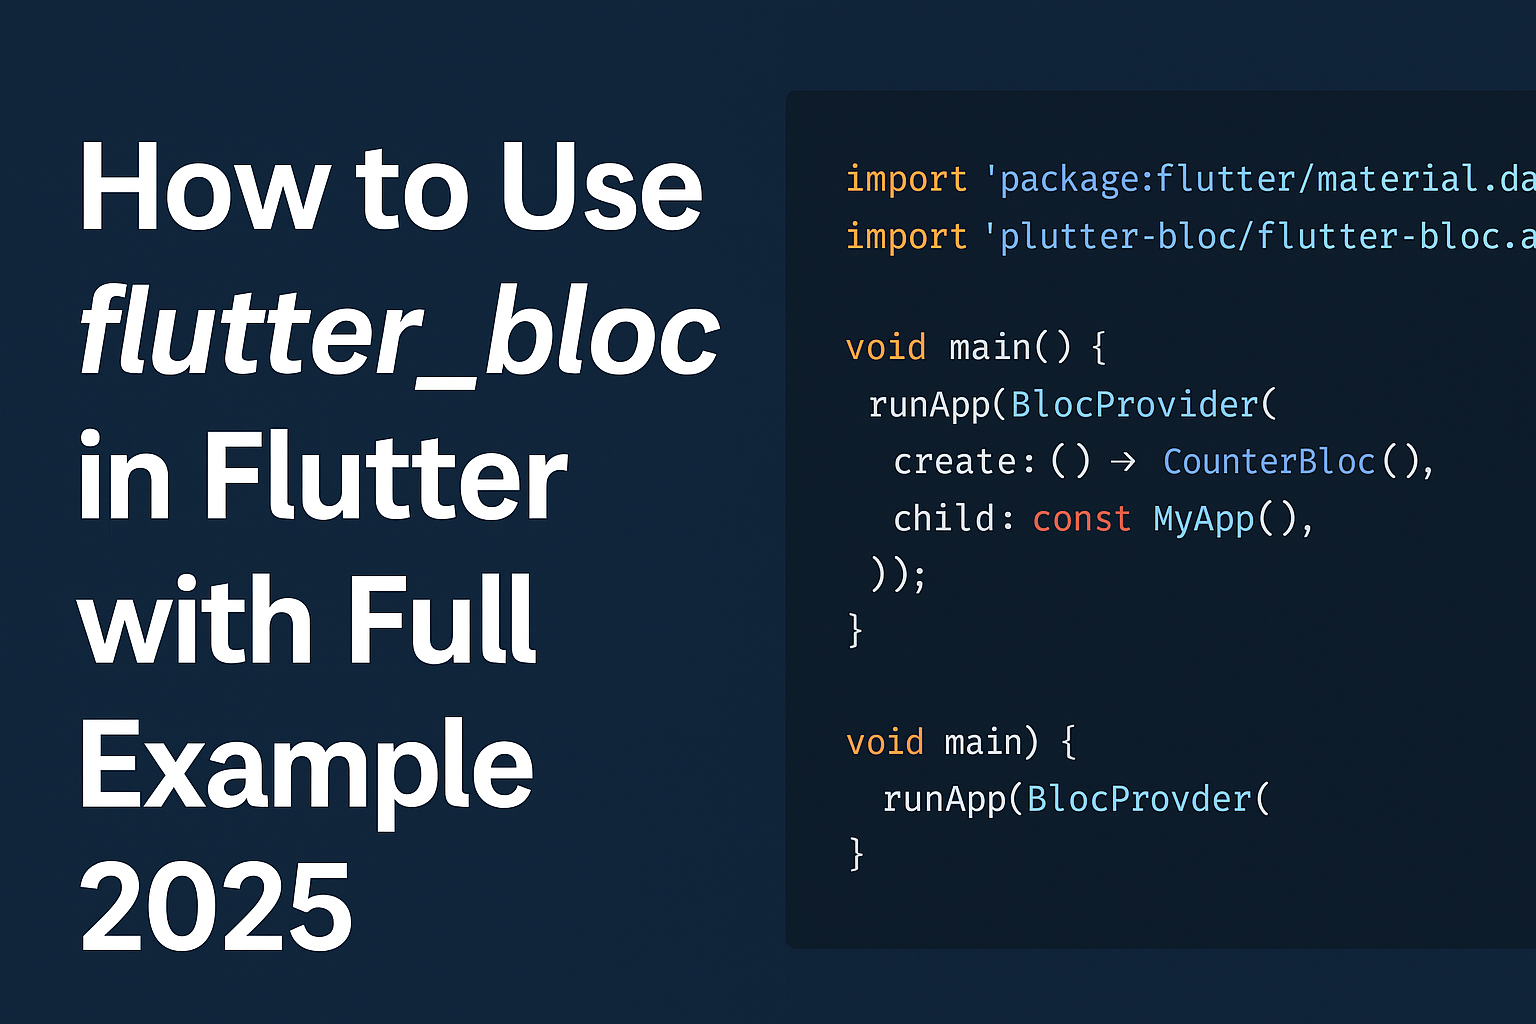
void main() {
runApp(BlocProvider(
create: (_) => CounterBloc(),
child: const MyApp(),
));
}
class MyApp extends StatelessWidget {
const MyApp({super.key});
@override
Widget build(BuildContext context) {
return MaterialApp(
title: 'Flutter BLoC Demo',
home: Scaffold(
appBar: AppBar(title: const Text('flutter_bloc Example')),
body: Center(
child: BlocBuilder<CounterBloc, CounterState>(
builder: (context, state) {
return Text('Counter: ${state.value}');
},
),
),
floatingActionButton: Column(
mainAxisAlignment: MainAxisAlignment.end,
children: [
FloatingActionButton(
onPressed: () => context.read<CounterBloc>().add(Increment()),
child: const Icon(Icons.add),
),
const SizedBox(height: 10),
FloatingActionButton(
onPressed: () => context.read<CounterBloc>().add(Decrement()),
child: const Icon(Icons.remove),
),
],
),
),
);
}
}
Best Practices
- Use
Equatableto reduce unnecessary rebuilds - Keep business logic outside UI components
- Use
BlocProviderfor clean injection - Prefer
BlocBuilderfor rebuilding widgets based on state - Combine
BlocListenerto handle side effects (e.g., navigation or errors)
Frequently Asked Questions (FAQ)
Bloc works with events and states, useful for complex logic. Cubit is simpler, using direct function calls to emit state changes.
Yes. It offers a scalable and testable architecture, making it suitable for both startups and enterprise applications.
Yes. It works well with Firebase Auth, Firestore, and Realtime Database to manage asynchronous operations cleanly.
You can use the bloc_test package to write unit tests for BLoC. Since logic is isolated, it’s straightforward to test input and output.