

Riverpod Tutorials 2026 – Intermediate Level Guide
In the beginner guide, we covered:
- Provider
- StateProvider
- FutureProvider
- StateNotifierProvider
- Basic Todo example
If you are beginner in Riverpod Read: Riverpod Tutorials 2026 – Beginner Guide (Complete Implementation)
Now in this Intermediate Riverpod Tutorial 2026, we move toward real-world application architecture.
At this level, you will learn:
- Riverpod with Clean Architecture
- Repository Pattern
- Dependency Injection
- Advanced Async Handling
- Riverpod with API integration
- Error handling best practices
- Code structure for scalable apps
If you are building:
- E-commerce apps
- Fintech apps
- SaaS dashboards
- Enterprise apps
- Production Flutter apps
This guide is for you.
Why Intermediate Riverpod Matters
In real apps, you don’t just manage a counter.
You manage:
- Authentication
- API calls
- Caching
- Complex business logic
- State persistence
- Dependency injection
- Error states
- Loading states
Riverpod shines in medium to large-scale applications.
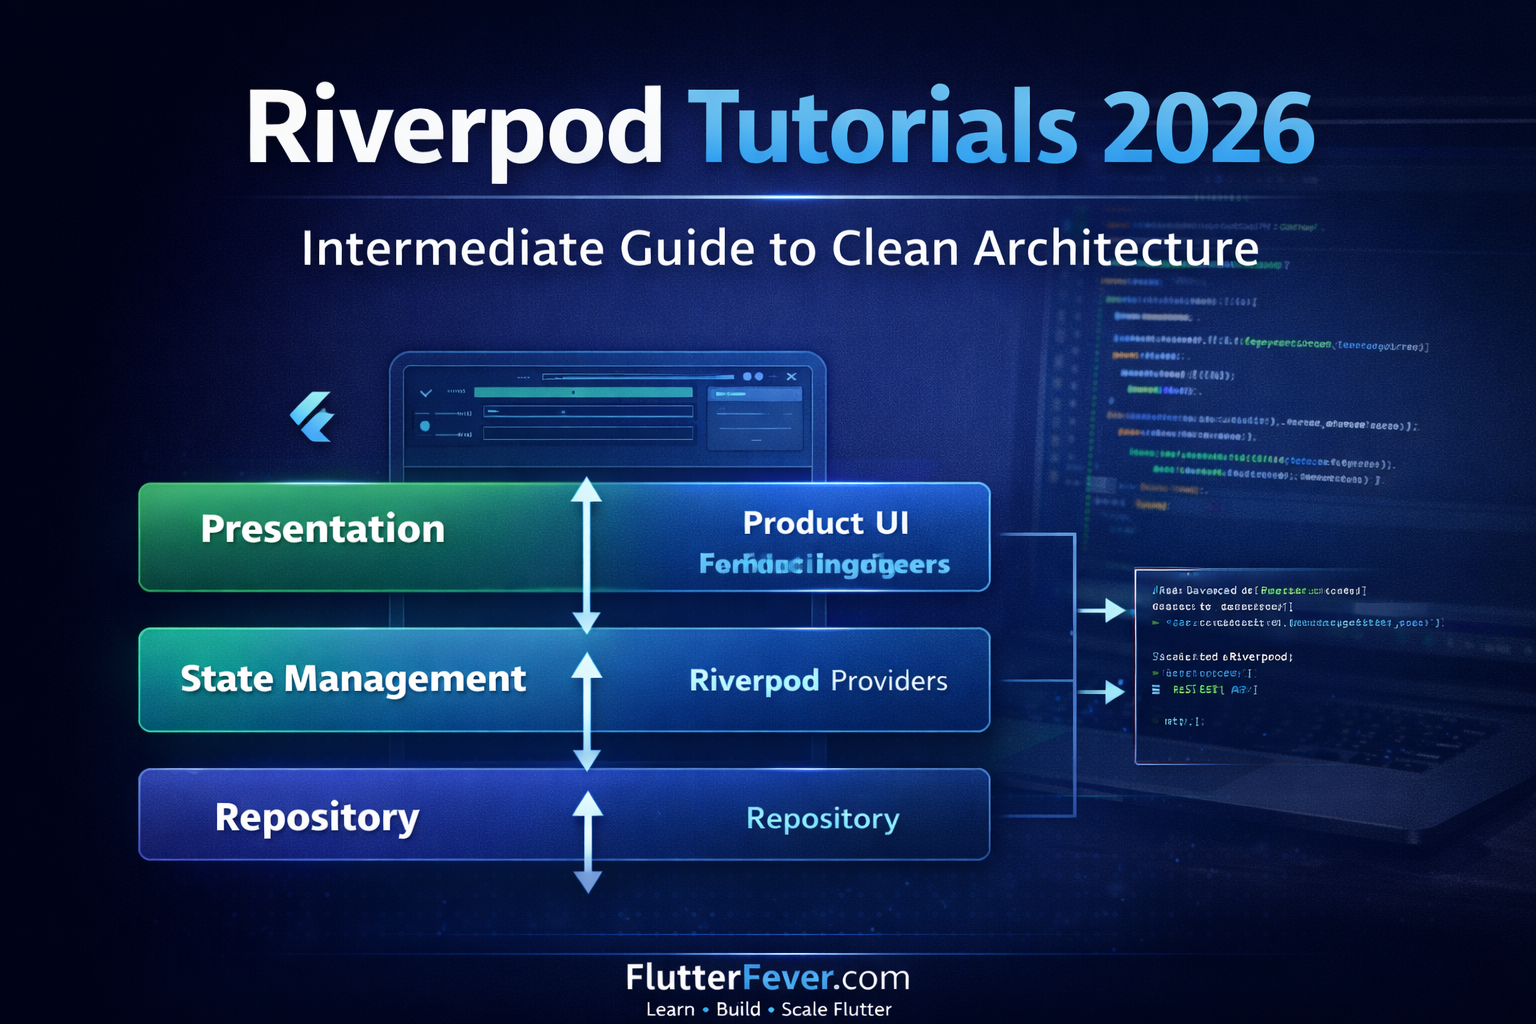
Clean Architecture with Riverpod
At intermediate level, we structure app into layers:
Presentation Layer (UI)
        ↓
State Management Layer (Riverpod)
        ↓
Repository Layer
        ↓
Data Source Layer (API / Database)
This ensures:
- Separation of concerns
- Testability
- Maintainability
- Scalability
Project Example: Product Listing App (API Based)
We will build:
- Fetch products from API
- Show loading state
- Handle errors
- Use repository pattern
- Inject dependencies using Riverpod
Step 1: Project Structure (Professional Setup)
lib/
 ├── core/
 ├── features/
 │     └── products/
 │          ├── data/
 │          │     ├── product_model.dart
 │          │     ├── product_repository.dart
 │          │     └── product_remote_datasource.dart
 │          ├── providers/
 │          │     └── product_provider.dart
 │          └── presentation/
 │                └── product_page.dart
This structure is scalable and production-ready.
Step 2: Create Product Model
class Product {
  final int id;
  final String title;
  final double price;  Product({
    required this.id,
    required this.title,
    required this.price,
  });  factory Product.fromJson(Map<String, dynamic> json) {
    return Product(
      id: json['id'],
      title: json['title'],
      price: json['price'].toDouble(),
    );
  }
}
Step 3: Create Remote Data Source
import 'package:dio/dio.dart';class ProductRemoteDataSource {
  final Dio dio;  ProductRemoteDataSource(this.dio);  Future<List<Product>> fetchProducts() async {
    final response =
        await dio.get("https://fakestoreapi.com/products");    return (response.data as List)
        .map((e) => Product.fromJson(e))
        .toList();
  }
}
Step 4: Create Repository
class ProductRepository {
  final ProductRemoteDataSource remoteDataSource;  ProductRepository(this.remoteDataSource);  Future<List<Product>> getProducts() async {
    return remoteDataSource.fetchProducts();
  }
}
Repository acts as abstraction layer.
Step 5: Dependency Injection with Riverpod
Create providers for each layer.
final dioProvider = Provider<Dio>((ref) {
  return Dio();
});final remoteDataSourceProvider =
    Provider<ProductRemoteDataSource>((ref) {
  return ProductRemoteDataSource(
      ref.read(dioProvider));
});final repositoryProvider =
    Provider<ProductRepository>((ref) {
  return ProductRepository(
      ref.read(remoteDataSourceProvider));
});
Now we inject dependencies cleanly.
Step 6: FutureProvider for API Data
final productListProvider =
    FutureProvider<List<Product>>((ref) async {
  final repository =
      ref.read(repositoryProvider);  return repository.getProducts();
});
This connects repository to UI.
Step 7: UI Implementation
class ProductPage extends ConsumerWidget {
  @override
  Widget build(BuildContext context, WidgetRef ref) {
    final productAsync =
        ref.watch(productListProvider);    return Scaffold(
      appBar: AppBar(title: Text("Products")),
      body: productAsync.when(
        data: (products) {
          return ListView.builder(
            itemCount: products.length,
            itemBuilder: (context, index) {
              return ListTile(
                title: Text(products[index].title),
                subtitle: Text(
                    "₹ ${products[index].price}"),
              );
            },
          );
        },
        loading: () =>
            Center(child: CircularProgressIndicator()),
        error: (e, stack) =>
            Center(child: Text("Error: $e")),
      ),
    );
  }
}
What You Achieved Here
✔ Clean Architecture
✔ Dependency Injection
✔ Async Handling
✔ Separation of Logic
✔ Scalable Structure
This is professional Flutter development.
Handling Advanced Async States
In production apps, we need:
- Refresh
- Retry
- Caching
- Pagination
Example: Manual Refresh
RefreshIndicator(
  onRefresh: () async {
    ref.refresh(productListProvider);
  },
  child: ListView(...)
)
Riverpod makes refreshing easy.
Using StateNotifier for Business Logic
When logic becomes complex, move to StateNotifier.
Example: Cart management Using Riverpod.
class CartNotifier
    extends StateNotifier<List<Product>> {
  CartNotifier() : super([]);  void addToCart(Product product) {
    state = [...state, product];
  }  void removeFromCart(Product product) {
    state = state
        .where((p) => p.id != product.id)
        .toList();
  }
}
final cartProvider =
    StateNotifierProvider<CartNotifier,
        List<Product>>((ref) {
  return CartNotifier();
});
Read Articles: Riverpod vs Provider in Flutter – Which State Management is Better in 2026?
Performance Optimization in Riverpod
Intermediate developers must understand:
- Avoid unnecessary rebuilds
- Use select()
- Use ref.listen()
Example: Using select
final price = ref.watch(
  productListProvider.select(
    (value) => value.value?.first.price,
  ),
);
This prevents full widget rebuild.
Riverpod vs BLoC (Intermediate Comparison)
| Feature | Riverpod | BLoC |
|---|---|---|
| Boilerplate | Low | High |
| Learning Curve | Moderate | High |
| Testability | Excellent | Excellent |
| Performance | High | High |
| Dependency Injection | Built-in | Manual |
Riverpod is simpler and modern.
Read Articles: Flutter BLoC vs Riverpod vs Provider (2026): Which State Management Should You Choose?
Common Intermediate Mistakes
- Mixing business logic in UI
- Overusing StateProvider
- Not separating repository layer
- Forgetting error handling
- Not structuring features properly
When Are You Ready for Advanced Riverpod?
You are ready when you:
- Understand Clean Architecture
- Can build API-driven apps
- Use repository pattern
- Handle async gracefully
- Write modular feature-based code
In the next article (Advanced Riverpod 2026), we will cover:
- Riverpod code generation
- Riverpod Generator
- AsyncNotifier
- Family providers
- AutoDispose
- Unit testing with Riverpod
- Riverpod with Firebase
- Riverpod performance deep dive
Conclusion
This intermediate Riverpod tutorial covered:
- Clean Architecture integration
- Dependency Injection
- Repository Pattern
- API integration
- Async handling
- StateNotifier usage
- Performance optimization
If you want to build scalable production Flutter apps in 2026, mastering Riverpod at this level is essential.
Read Articles: How to Design Flutter Enterprise App Architecture in 2026: Scalable & AI-Ready App Systems
Frequently Asked Questions – Riverpod Intermediate Level (2026)
In Clean Architecture, Riverpod acts as the state management and dependency injection layer between UI and business logic.
Structure:
Presentation Layer (UI)
State Management Layer (Riverpod Providers)
Repository Layer
Data Source Layer (API / Database)
Riverpod injects repositories into providers and exposes state to UI using ref.watch().
This ensures:
Separation of concerns
Testable code
Scalable project structure
Riverpod makes Clean Architecture implementation easier compared to traditional Provider or manual dependency injection.
Use FutureProvider when:
Fetching simple data from API
One-time data loading
No complex business logic
No manual state mutation required
Use StateNotifierProvider when:
You need loading + refresh + retry logic
Handling pagination
Managing multiple states
Performing CRUD operations
Complex state transformation
Intermediate developers usually start replacing simple FutureProviders with StateNotifier when business
Refreshing is simple using ref.refresh().
Example:
ref.refresh(productListProvider);
You can use it inside:
Pull-to-refresh
Retry button
Manual reload action
This re-triggers the provider and fetches fresh data.
Riverpod makes refresh logic very clean compared to traditional setState or BLoC streams.