

If you use Flutter inside Visual Studio Code, sooner or later you will need to update your Flutter SDK. Sometimes you need the latest stable release for new features. Sometimes you need an update because a package requires a newer Flutter version. And sometimes VS Code shows warnings, build issues, or analysis errors because your local Flutter SDK is outdated. The official Flutter docs say the standard way to update Flutter is with the flutter upgrade command, which downloads the most recent Flutter SDK available for your current release channel.
A lot of developers search for “how to update Flutter in VS Code” and assume there must be a special VS Code button that updates the full SDK. In practice, the important thing to understand is this: VS Code is your editor, but the Flutter SDK itself is updated through Flutter tooling, usually from the integrated terminal using flutter upgrade. Separately, the Flutter extension inside VS Code can also be updated from the Extensions panel. These are related, but they are not the same update.
This article explains the full process in a clean, beginner-friendly way. You will learn how to update Flutter SDK from VS Code, how to check your current version, how to switch channels if needed, how to update Flutter packages, how to update the VS Code Flutter extension, and how to solve the most common errors after upgrading. Everything here is aligned with current Flutter and Dart Code documentation.
What “updating Flutter in VS Code” actually means
When people say they want to update Flutter in VS Code, they usually mean one of three different things. The first is updating the Flutter SDK itself. The second is updating the packages used by a specific Flutter project. The third is updating the Flutter extension in VS Code. The Flutter docs distinguish SDK upgrades from package upgrades, and the VS Code docs separately explain how the editor extension is updated.
So before doing anything, it helps to know what you actually want. If your goal is to get the latest framework version, use flutter upgrade. If your goal is to refresh project dependencies, use flutter pub upgrade or related pub commands. If your code completion, tooling, or VS Code-side integration feels outdated, check the Flutter extension in the Extensions panel.
Read : Flutter Installation and SDK Setup Guide Using VS Code in 2026
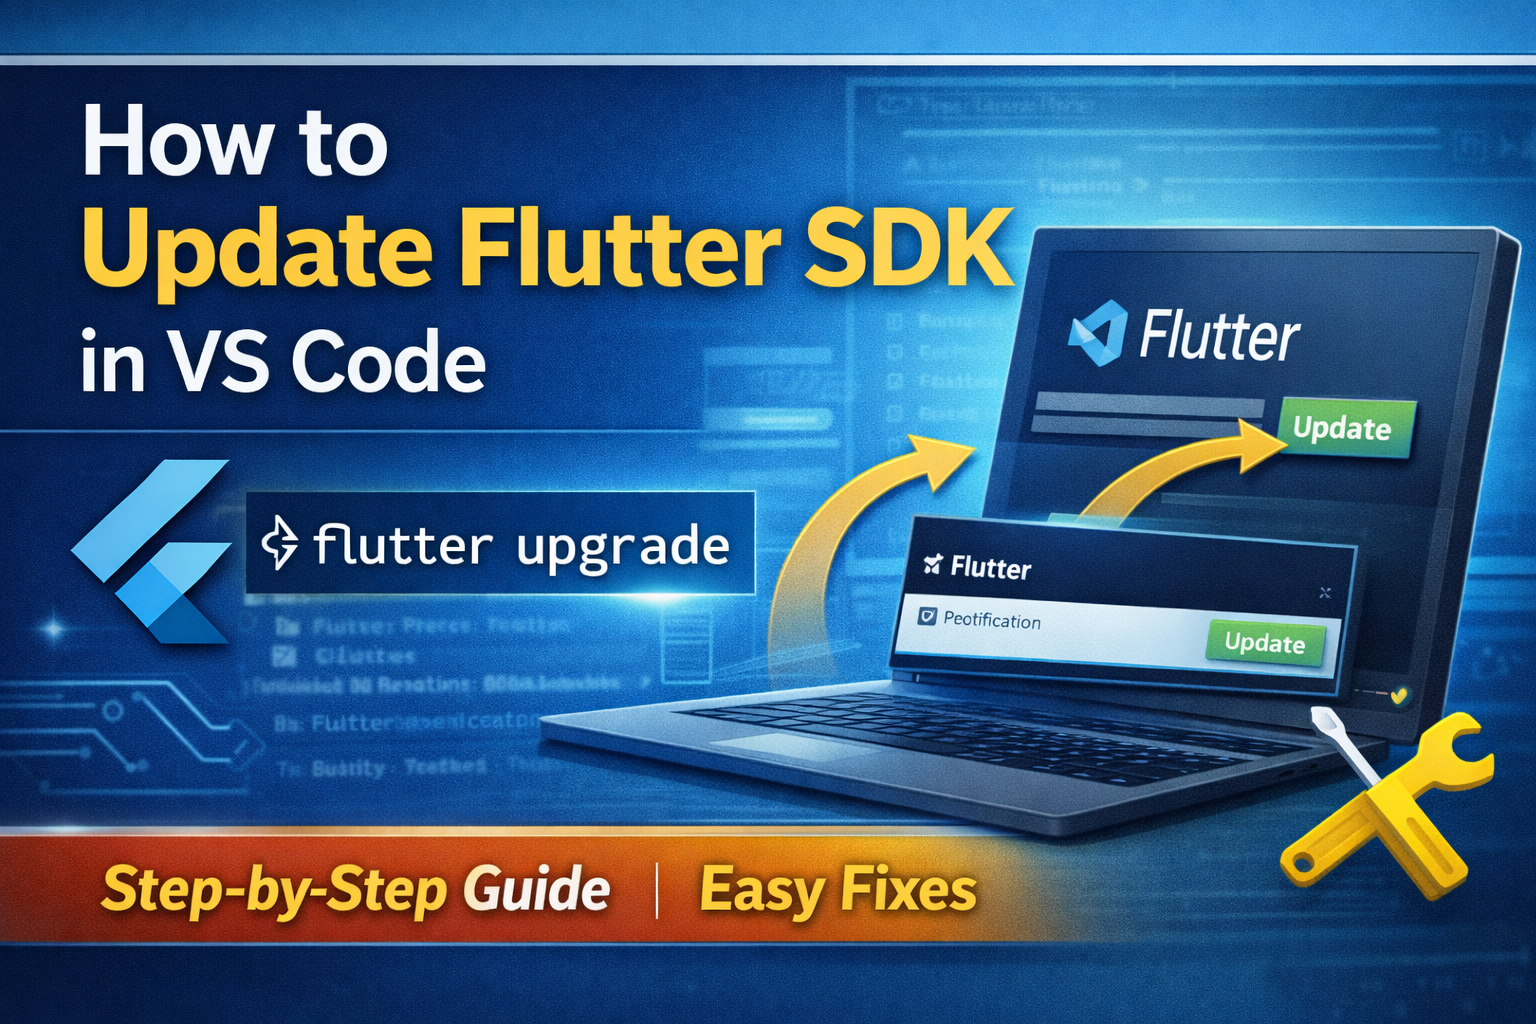
The safest and easiest way to update Flutter SDK in VS Code
The official Flutter upgrade command is:
flutter upgrade
Flutter’s upgrade guide says this command updates your Flutter SDK to the most recent version available on your current channel. That means if you are already on the stable channel, it will upgrade you to the latest stable version; if you are on beta, it will upgrade you to the latest beta version.
Inside VS Code, the simplest workflow is:
- Open your Flutter project or any folder.
- Open the terminal in VS Code.
- Run
flutter --versionto see your current version. - Run
flutter upgrade. - Run
flutter doctorto verify the environment after the upgrade. The VS Code Flutter tooling also supports running Flutter Doctor directly from the Command Palette.
Step 1: Check your current Flutter version first
Before upgrading, check which version of Flutter you already have installed:
flutter --version
This is useful because many developers upgrade without first confirming their current SDK version, channel, or installation path. Flutter’s docs also note that if you need the SDK path, flutter doctor --verbose can help you locate it. That becomes especially useful if VS Code is pointing to a different Flutter installation than the one you think you are using.
If you want to inspect the environment more deeply, use:
flutter doctor --verbose
That command helps confirm whether the SDK is healthy, where it is installed, and whether Android, iOS, desktop, browser, or other toolchains are configured properly. VS Code’s Flutter integration can also run Flutter Doctor from the Command Palette and show the output in the Output panel.
Read : Flutter Doctor command — What is flutter doctor (2026 Complete Guide)
Step 2: Open the terminal in VS Code and run the upgrade
The most practical answer to “How do I update Flutter SDK in VS Code?” is simply this: open the integrated terminal and run the Flutter CLI update command. The editor does not replace the SDK update mechanism; it gives you a convenient place to run it. Flutter’s docs are explicit that flutter upgrade is the standard upgrade command.
Use this:
flutter upgrade
Once the command finishes, check again:
flutter --version
If the version changed successfully, your Flutter SDK is updated. After that, run flutter doctor to catch any post-upgrade issues immediately instead of discovering them later during build or run time.
Read : How to Update Flutter SDK (Step by Step Guide for Developers)
Step 3: Understand Flutter channels before upgrading
Flutter’s upgrade behavior depends on your release channel. The current Flutter docs say Flutter has stable and beta channels for normal users, and also a main channel primarily for contributors. Flutter recommends the stable channel for new users and production app releases, and notes that stable is updated about every three months, while beta is updated more frequently. It also says the main channel is not as thoroughly tested and is more likely to contain regressions.
To check your current channel, run:
flutter channel
To switch channels, the official syntax is:
flutter channel beta
flutter upgrade
Flutter’s docs explicitly say that after changing the channel, you should run flutter upgrade to download the latest SDK and dependent packages for that channel. For most readers of FlutterFever, the best advice is still to stay on stable unless you have a specific reason to test beta features.
Step 4: Update the VS Code Flutter extension too
A common mistake is updating the Flutter SDK but forgetting that the VS Code extension can also need an update. The Flutter VS Code docs say updates to the extensions are shipped regularly and that VS Code usually updates them automatically. The same page also explains the manual flow: open the Extensions sidebar, click Update on the Flutter extension if available, then Reload, and restart VS Code.
This matters because the Flutter SDK and the VS Code extension work together but are versioned separately. If your Flutter extension is stale, you may see outdated tooling behavior even after your SDK itself is current. So after an SDK upgrade, it is a good habit to also check the Extensions panel and confirm that the Flutter extension is up to date.
Step 5: Make sure VS Code is using the correct Flutter SDK path
Many developers have more than one Flutter SDK installed, especially if they previously tested beta builds, cloned Flutter manually, used FVM-like workflows, or installed Flutter in different folders over time. Flutter’s project creation docs say the Flutter SDK path shown in tooling should match the SDK location you want to use, and Dart Code’s documentation explains that the extension locates Dart and Flutter SDKs from your PATH by default.
This is one of the biggest hidden reasons why users think an upgrade “did not work.” They update one Flutter SDK folder, but VS Code is actually using another one. Dart Code also documents support for configuring multiple SDK locations through settings such as dart.flutterSdkPaths, and notes that switching SDKs this way may require restarting terminals for the path change to apply.
So if flutter --version in one terminal shows a new version but VS Code still behaves like the old version is active, check which SDK path the editor is actually using. In real projects, that single check solves a surprising number of upgrade-related confusion cases.
Read : Flutter FVM – Complete Guide to FVM (Flutter Version Management)
Step 6: If flutter is not recognized in VS Code, fix PATH first
If VS Code says flutter is not recognized, or the integrated terminal cannot find the command, the issue is usually not the upgrade process itself. It is usually a PATH problem. The Flutter install docs say you must add the Flutter SDK’s bin directory to your PATH so the flutter and dart command-line tools can run in terminals and IDEs. Dart Code’s docs also note that VS Code often relies on PATH to locate the Flutter SDK.
On Windows, Flutter’s docs say to add the SDK’s bin folder to the Path environment variable, move it high enough in the path order, and then close and reopen command prompts, terminal sessions, and IDEs so the change is applied. Dart Code’s PATH guide also recommends rebooting after PATH changes to ensure all processes are updated.
On macOS and Linux, the Flutter docs explain that you add the Flutter bin directory to the shell profile for your default shell and then reopen your shell sessions and IDEs so flutter becomes available. The docs provide shell-specific examples such as updating ~/.zprofile, ~/.bashrc, or related files depending on platform and shell.
Step 7: Know the difference between updating Flutter SDK and updating project packages
This is another place where many beginners get confused. Updating Flutter SDK does not automatically mean all your project packages become the newest versions. Flutter’s upgrade guide separately documents project dependency commands. It says flutter pub upgrade updates dependencies to the latest compatible versions allowed by your pubspec.yaml, while flutter pub upgrade --major-versions updates to the latest possible versions and also updates constraints in pubspec.yaml. It also documents flutter pub outdated for checking what is behind.
That means after upgrading Flutter itself, you may also want to run:
flutter pub outdated
flutter pub upgrade
And if you intentionally want to move to the newest major package versions:
flutter pub upgrade --major-versions
This separation is important in professional projects. A Flutter SDK upgrade changes the framework you develop with. A pub upgrade changes the packages used inside your app. These are related maintenance tasks, but they are not the same thing.
Step 8: After upgrading, always run Flutter Doctor
After the SDK upgrade finishes, do not stop there. Validate the setup:
flutter doctor
The VS Code docs explicitly describe a built-in command called Flutter: Run Flutter Doctor, which opens the Output panel and shows the output of flutter doctor. That makes it a very convenient post-upgrade verification step even for beginners who are more comfortable inside the VS Code UI than the terminal.
This matters because upgrades can surface hidden issues that already existed in the environment but were not noticed before. For example, Android SDK configuration, Xcode tools, browser targets, or desktop prerequisites may become visible during the doctor check. Catching those right after the upgrade saves time later when you try to run or build the app.
How to switch to a specific Flutter version in VS Code
Sometimes you do not want the newest release. You may need to reproduce a bug, match a team project, or stay on a specific version required by a production codebase. Flutter’s upgrade docs explain that to switch to a specific version, you first find the desired version in the Flutter SDK archive, navigate to your Flutter SDK directory, and use git checkout <Flutter version>. The docs also note that flutter doctor --verbose can help you find the current SDK path.
The command pattern is:
cd /path/to/flutter
git checkout <Flutter version>
This is especially useful in VS Code workflows where multiple projects may depend on different Flutter versions. If you maintain multiple SDK folders, Dart Code also supports listing multiple SDK paths so you can switch more cleanly inside the editor environment.
Read : Download Git for Flutter for Windows, Linux and macOS: Complete Step-by-Step Guide
What to do if the upgrade fails on Windows
Flutter’s official upgrade guide includes a specific Windows issue: “Filename too long.” The docs say this can happen when the path to a file inside the Flutter SDK exceeds the default Windows path length limit. Flutter recommends using a shorter install path such as C:\Flutter instead of a deeper path like a long Documents folder. The same guide also provides commands to enable long path support in Git and Windows if needed.
Flutter’s documented fix includes:
git config --system core.longpaths true
And on Windows PowerShell, with administrator privileges:
New-ItemProperty -Path "HKLM:\SYSTEM\CurrentControlSet\Control\FileSystem" -Name "LongPathsEnabled" -Value 1 -PropertyType DWORD -Force
If you are working on Windows and your upgrade keeps failing unexpectedly, this is one of the first official fixes worth checking. It is practical, documented, and directly relevant to Flutter SDK upgrades.
What if VS Code still shows the old Flutter version after upgrade?
If the terminal says the upgrade succeeded but VS Code still seems stuck on the older version, there are a few likely causes. First, the integrated terminal may need to be restarted because Dart Code notes that SDK switching can require terminal restart before the updated PATH applies. Second, the editor itself may need a reload or restart. Third, the wrong SDK path may still be selected in VS Code. Fourth, PATH changes may not have been applied to the VS Code process yet.
In practice, the clean recovery sequence is simple: close the terminal tab, reopen it, run flutter --version, restart VS Code, and confirm the active SDK path. If you recently changed environment variables, Flutter’s and Dart Code’s docs both indicate that reopening shells and IDEs is necessary, and Dart Code even notes that a reboot may be needed on Windows after PATH changes.
Read : How to Set Flutter Path in Windows (Step-by-Step Guide for Beginners)
Should you use stable or beta in 2026?
For most developers, especially those building production apps or writing tutorials for broad audiences, the safest choice remains stable. Flutter’s docs explicitly recommend the stable channel for new users and production app releases. They also note that the stable channel is updated roughly every three months, while beta moves more frequently. The main channel exists but is not recommended for typical users because it is more likely to contain regressions.
Read : How to Switch Flutter SDK Channel from Stable to Beta or Main (Beginner Guide)
Best workflow for updating Flutter in VS Code
If you want one reliable workflow that is good enough for most users, use this order:
Open VS Code, open the integrated terminal, run flutter --version, then run flutter upgrade, followed by flutter doctor. After that, update the Flutter extension from the Extensions panel if needed, restart VS Code, and then run flutter pub outdated or flutter pub upgrade inside the project if your goal also includes dependency maintenance. This workflow follows the way Flutter and VS Code documentation split SDK, extension, and dependency updates.
If the command is not found, fix PATH. If the wrong version is active, verify the SDK path. If the upgrade fails on Windows because of long filenames, shorten the installation path or enable long path support as Flutter documents. These are the most common real-world causes behind failed or confusing Flutter SDK upgrades in VS Code.
Final thoughts
Updating Flutter SDK in VS Code is not difficult once you separate the pieces clearly. The SDK itself is upgraded with flutter upgrade. The editor integration is updated through the VS Code Extensions panel. Your project packages are updated with flutter pub commands. And if anything looks wrong after the upgrade, the first things to check are PATH, the active SDK path, terminal restart, and flutter doctor. That is the cleanest and most professional way to think about Flutter maintenance in 2026.
If you follow that structure, you avoid most beginner mistakes: updating the wrong thing, editing the wrong SDK folder, assuming VS Code auto-updated the framework, or ignoring dependency mismatches after the SDK changes. Once those ideas are clear, Flutter updates become routine instead of stressful.
FAQ
Open the terminal inside VS Code and run flutter upgrade. Flutter’s official docs say this command updates your Flutter SDK to the most recent release available on your current channel.
No. The VS Code Flutter extension and the Flutter SDK are separate. The extension is updated from the Extensions panel, while the SDK is updated using Flutter CLI commands such as flutter upgrade.
The most common reasons are that VS Code is using a different SDK path, the terminal has not restarted yet, or PATH changes have not been applied to the current process. Dart Code and Flutter docs both describe PATH and SDK path behavior that can cause this confusion.
Use flutter pub upgrade for the latest compatible versions, flutter pub upgrade --major-versions for the latest possible versions, and flutter pub outdated to inspect outdated dependencies. Flutter documents these separately from the SDK upgrade flow.
Flutter recommends the stable channel for new users and production releases. Beta is updated more often, while main is not recommended for most users because it is less thoroughly tested.