

Android Studio Download and Android SDK Setup steps for Flutter Development
If you want Flutter Android builds to work smoothly (debug APK, release AAB, emulator/device testing), you need two things set up correctly:
- Android Studio download + install (easiest way to get everything)
- Android SDK download and setup (SDK Platforms, Build-Tools, Platform-Tools, Command-line Tools)
Why Android Studio is needed for Flutter Android development
Flutter can run on Android only when your system has:
- Android SDK (platforms + build tools)
- ADB / Platform-Tools (for device connection and debugging)
- Java tooling (Android Studio bundles a compatible JDK in modern versions)
- Licenses accepted so Gradle can build without errors (Flutter checks this)
Before you start: Minimum system requirements (recommended)
Android Studio is heavy. For a smooth experience:
- 8 GB RAM minimum (16 GB+ recommended if you use Emulator)
- 64-bit Windows/macOS/Linux supported
- CPU virtualization enabled if you plan to use the Android Emulator
Step 1: Android Studio download (official and safest method)
Official download page
Use the official Android Studio site and install page:
- Android Studio download page
- Official install instructions + system requirements
Which version should you download?
- For most Flutter developers, install the latest Stable channel.
- If you are debugging a specific tooling issue, you can also access the archive/preview downloads.
Step 2: Install Android Studio (Windows / macOS / Linux)
Windows (quick steps)
- Run the installer you downloaded from the official page.
- Keep these selected:
- Android Studio
- Android SDK
- Android Virtual Device (optional but recommended)
- Finish installation and launch Android Studio
macOS (quick steps)
- Download the macOS package from the official page.
- Drag Android Studio into Applications.
- Launch Android Studio.
Linux (quick steps)
- Download Linux package from official site.
- Extract and run
studio.sh(Android’s install page includes guidance).
https //developer.android.com/studio
Step 3: Android SDK download and setup (inside Android Studio)
This is the most important part for Flutter Android builds.
Open SDK Manager
In Android Studio:
- Go to Tools → SDK Manager
SDK Platforms (install at least one)
Inside SDK Platforms tab:
- Install latest stable Android SDK Platform (recommended)
- You can also install a specific API level if your project requires it
Flutter’s official Android setup docs also point you to install required SDK components and then accept licenses.
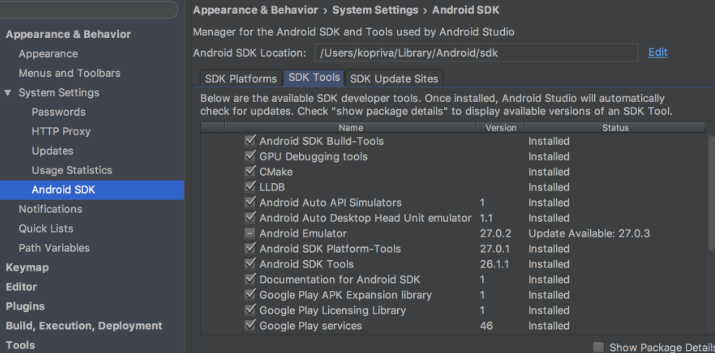
SDK Tools (must-have list for Flutter)
Inside SDK Tools tab, ensure these are installed:
Must-have:
- Android SDK Platform-Tools (includes
adb) - Android SDK Build-Tools (required for building Android apps)
- Android SDK Command-line Tools (latest) (helps with sdkmanager / licenses / tooling)
Recommended:
- Android Emulator (if you want emulator testing)
- Google USB Driver (Windows only, for some devices)
Click Apply to install.
Step 4: Set ANDROID_HOME / ANDROID_SDK_ROOT (recommended)
Flutter can often detect SDK automatically, but setting the environment variables makes your setup stable across terminals, CI, and editors.
Find your SDK path
In Android Studio:
- SDK Manager shows Android SDK Location at the top.
Common defaults:
- Windows:
C:\Users\<YourUser>\AppData\Local\Android\Sdk - macOS:
/Users/<YourUser>/Library/Android/sdk - Linux:
/home/<YourUser>/Android/Sdk
Windows environment variables
Set:
ANDROID_SDK_ROOT= your SDK path
Add to Path:%ANDROID_SDK_ROOT%\platform-tools%ANDROID_SDK_ROOT%\cmdline-tools\latest\bin(if present)%ANDROID_SDK_ROOT%\tools\bin(older setups)
macOS / Linux (zsh/bash)
Add to ~/.zshrc or ~/.bashrc:
export ANDROID_SDK_ROOT="$HOME/Library/Android/sdk"   # macOS default
# export ANDROID_SDK_ROOT="$HOME/Android/Sdk"        # Linux defaultexport PATH="$PATH:$ANDROID_SDK_ROOT/platform-tools"
export PATH="$PATH:$ANDROID_SDK_ROOT/cmdline-tools/latest/bin"
Restart terminal after saving.
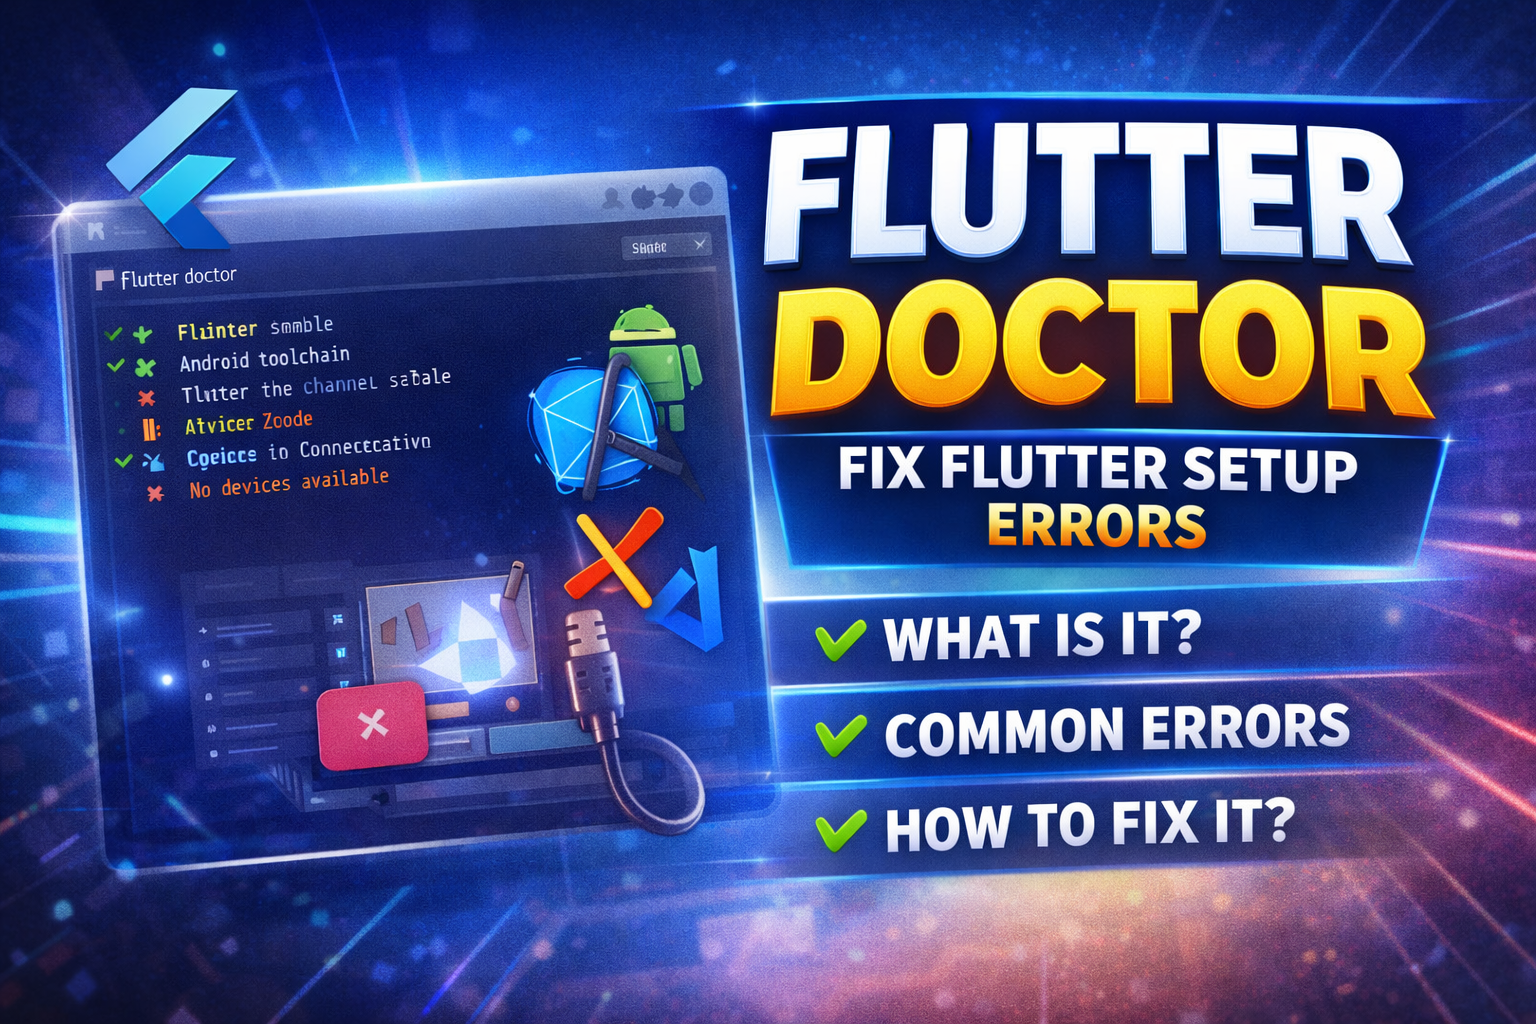
Step 5: Accept Android SDK licenses (Flutter requirement)
Run:
flutter doctor --android-licenses
Accept all prompts. This is explicitly recommended in Flutter’s Android setup docs.
Then verify:
flutter doctor
Read Articles: Flutter Doctor command — What is flutter doctor
Step 6: Install Flutter plugin in Android Studio (recommended workflow)
To build and run Flutter easily inside Android Studio, install the Flutter plugin:
Android Studio → Settings/Preferences → Plugins → Marketplace → search Flutter → Install → Restart
Like This:
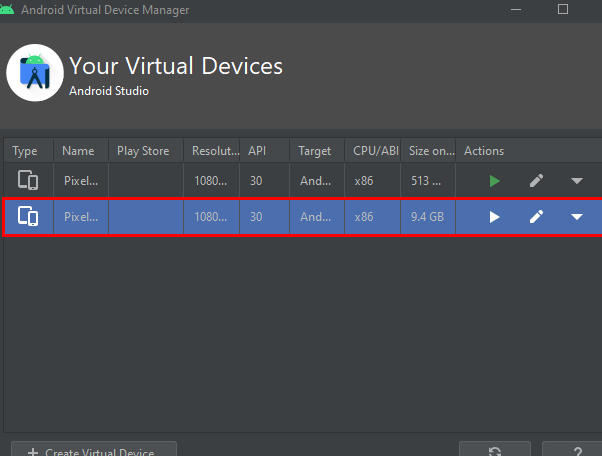
Step 7: Create an Emulator (optional but recommended)
If you want emulator testing:
- Android Studio → Device Manager
- Create Virtual Device
- Choose a device + system image
- Ensure virtualization/hardware acceleration is enabled for best speed
Common errors and fixes (Flutter Android setup)
1) “sdkmanager tool not found”
Fix:
- Install Android SDK Command-line Tools (latest) from SDK Tools
- Ensure
cmdline-tools/latest/binis in PATH
Flutter troubleshooting mentions using SDK Manager to install cmdline-tools/build-tools/platforms.
2) “Android licenses not accepted”
Fix:
flutter doctor --android-licenses
3) Gradle build fails after installing SDK
Checklist:
- Install Build-Tools and at least one SDK Platform
- Confirm SDK path detected in
flutter doctor - Update Android Studio + SDK tools (Tools → SDK Manager)
Best practice setup for ranking + real-world development stability
If you want fewer build issues across projects:
- Keep Android Studio updated (stable channel)
- Always keep these updated in SDK Tools:
- Platform-Tools (
adb) - Build-Tools
- Command-line Tools
- Platform-Tools (
Read Articles : Download Flutter PDF Book – Free Beginner to Advanced Dart Programming Guide
Android Studio setup is a critical part of Flutter development because a correct Android SDK, emulator configuration, and Flutter plugin setup directly affect whether your Flutter app runs successfully or not. Many users install Android Studio but still face problems with the Flutter SDK path, missing Android licenses, flutter doctor errors, or broken project configuration in Windows. If you want a full working environment, do not stop at Android Studio installation alone. Also read our related guides on Flutter SDK download, Flutter installation on Windows, configuring Flutter SDK path in Android Studio, and fixing common Flutter installation errors for a more stable setup.
FAQ: Android Studio download and Android SDK setup for Flutter Development in 2026
Not strictly, but it is the easiest way to get Android SDK + tools installed correctly and manage them via SDK Manager.
Yes, using command-line tools like sdkmanager, but most Flutter developers should use Android Studio SDK Manager for reliability.
Install the latest stable SDK Platform and required tools. If your project targets a specific API level, install that platform too.
At minimum:
Android SDK Platform
Platform-Tools
Build-Tools
Command-line Tools
https://developer.android.com/tools
Open SDK Manager from Android Studio and install the latest supported Android SDK platform and tools.
Flutter’s Android setup guide says to verify the API Level 36 platform and required tools there.
Launch Android Studio, go to More Actions > SDK Manager or Tools > SDK Manager, and install the missing SDK packages.
This is the official way Flutter recommends completing Android setup.
Go to File > Settings > Plugins > Marketplace, search Flutter, install it, and restart Android Studio.
The Dart plugin is installed along with Flutter when prompted.