

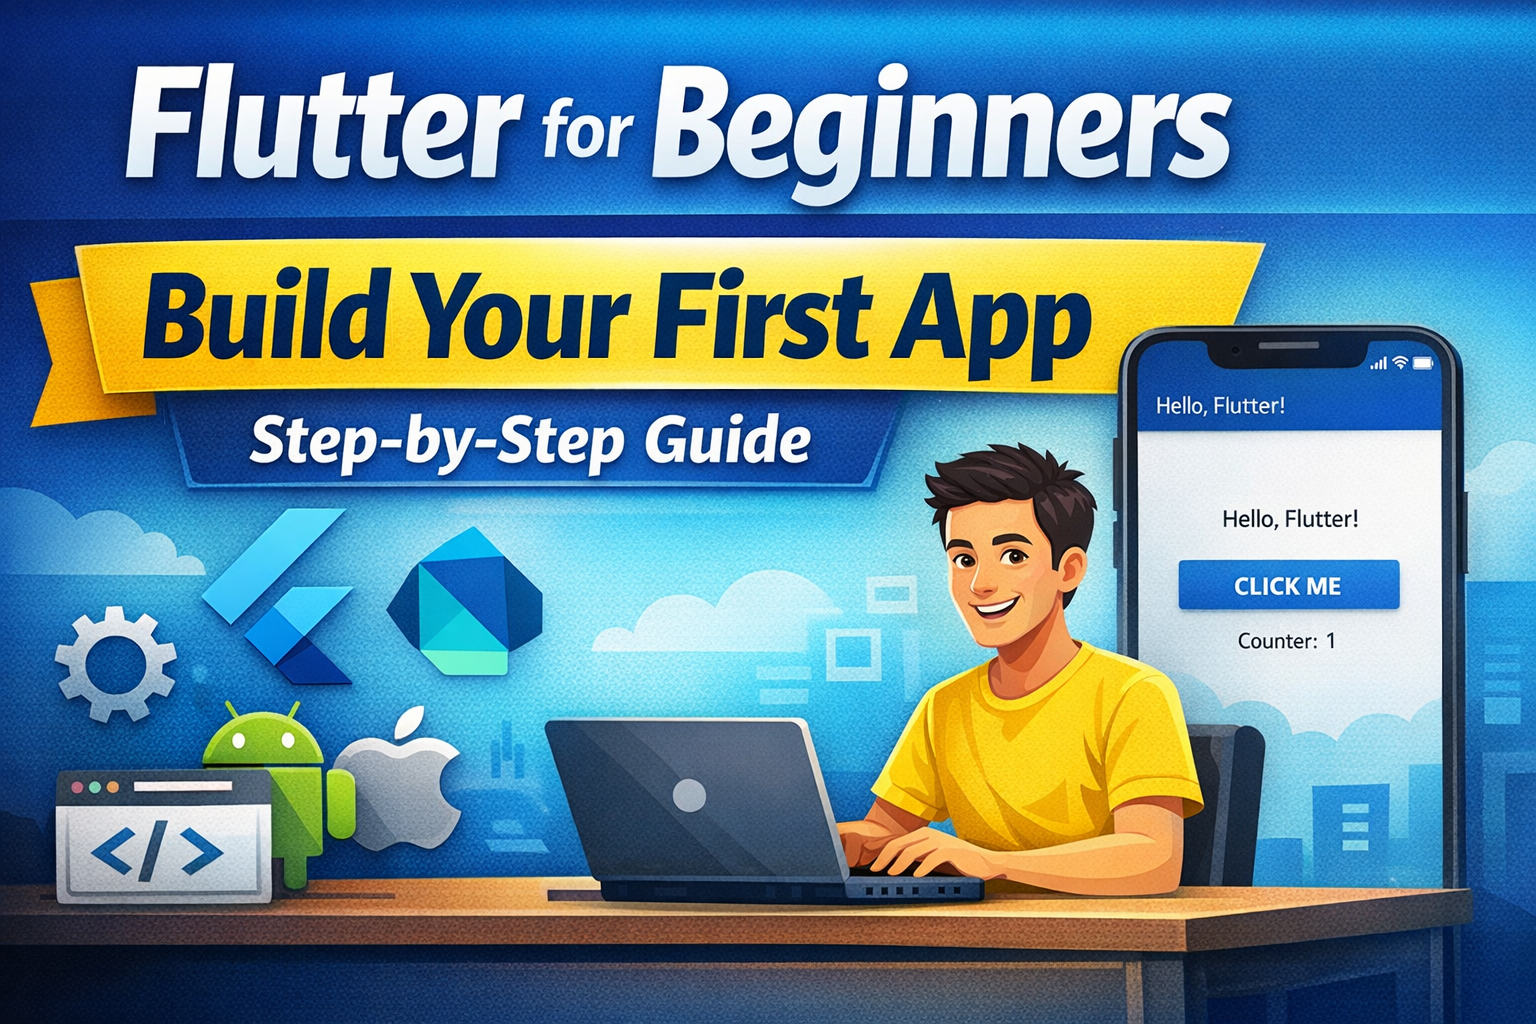
How to Build Your First App with Flutter: Beginner-Friendly Step-by-Step Tutorial
If you are planning to enter mobile app development, Flutter is one of the best frameworks to start with. It is beginner-friendly, fast to develop with, and powerful enough to build production-ready Android, iOS, web, desktop, and embedded apps from a single codebase. Flutter’s learning pathway is specifically designed for beginners and walks learners through environment setup, Dart basics, and building small apps step by step.
In simple words, Flutter helps you build beautiful applications using the Dart language and a widget-based UI system. Instead of creating separate apps for Android and iOS, you can write one main codebase and target multiple platforms. This is one of the biggest reasons Flutter has become so popular among students, startups, freelance developers, and product teams.
This detailed beginner-friendly guide will help you understand what Flutter is, how to set up your system, how to create your first Flutter app, how the project structure works, how widgets behave, how hot reload helps, and how to use Flutter’s learning resources and codelabs.
Why Flutter is a great choice for beginners
Flutter is a practical choice for beginners because it gives quick visual output, has strong documentation, and supports fast iteration using hot reload. A beginner can change UI code, save the file, and instantly see the result on the simulator or device. This immediate feedback reduces frustration and helps new developers understand layout, widgets, colors, spacing, and interactions much faster. Flutter’s beginner learning resources and pathway are built around exactly this ramp-up experience.
Another reason Flutter is beginner-friendly is its widget-first design. In Flutter, almost everything is a widget: text, buttons, rows, padding, icons, app bars, lists, and even page structure. This might sound unusual at first, but it creates a very organized mental model. Once you understand how widgets nest inside each other, UI development starts feeling logical rather than confusing.
What you need before starting Flutter
Before building your first Flutter application, you need a few basic things installed on your system. The Flutter learning pathway recommends first setting up the development environment, then learning Dart, and then moving to guided Flutter app building.
You generally need:
- Flutter SDK
- An editor such as Android Studio or VS Code
- Android Studio for Android SDK and emulator setup
- A physical Android phone or emulator
- Basic understanding of folders, files, and terminal commands
- Some patience for first-time environment setup
If you are a complete beginner, do not worry if the setup feels slightly technical. Most learners struggle more in installation than in actual Flutter coding. Once the environment is ready, progress becomes much smoother.
Step 1: Install Flutter SDK
The first step is installing the Flutter SDK. The Flutter docs provide installation instructions and position the environment setup as the first step in the beginner learning pathway.
Read : Flutter Install Windows: Flutter setup guide step by step process for windows
After installing Flutter, you should verify the setup using:
flutter doctor
This command checks whether Flutter, Dart, Android toolchain, device connectivity, and IDE integrations are configured properly. If something is missing, Flutter usually tells you what to fix next.
Step 2: Install Android Studio or VS Code
For a beginner, Android Studio is often the simplest option because it helps with Android SDK, emulator creation, and plugin setup in one place. VS Code is also excellent if you prefer something lighter. Either way, you should install Flutter and Dart plugins/extensions in your editor for syntax highlighting, device controls, debugging, and Flutter-specific commands.
Read : Android Studio Download and Android SDK Setup steps for Flutter Development
Step 3: Create your first Flutter app
Once the setup is complete, create your first app with the Flutter CLI:
flutter create my_first_flutter_app
This command generates the full starter project structure. Then go into the project folder:
cd my_first_flutter_app
Run the app with:
flutter run
This is one of the most exciting moments for a beginner, because you finally see a real app running. The official beginner pathway includes guided app-building steps and multiple small apps to help learners become comfortable with this cycle.
Read : How to create flutter project using command line with different parameter?
Step 4: Understand the default Flutter project structure
When Flutter creates a project, beginners often feel overwhelmed by the number of folders. The good news is that initially, you only need to care about a few important files.
The most important ones are:
lib/main.dart— main entry point of your apppubspec.yaml— dependencies, assets, fonts, and metadataandroid/— Android-specific native filesios/— iOS-specific native filestest/— test filesweb/,windows/,linux/,macos/— platform-specific folders if enabled
For a beginner, main.dart is where almost all early learning happens.
Step 5: Open and understand main.dart
The default main.dart usually contains a starter counter app. It introduces several foundational concepts at once:
main()functionrunApp()StatelessWidgetorStatefulWidgetMaterialAppScaffoldAppBarFloatingActionButton- state update with
setState()
A beginner does not need to memorize everything immediately. The goal is to understand the flow.
A simple Flutter app starts with:
import 'package:flutter/material.dart';void main() {
  runApp(const MyApp());
}
This means your app starts in the main() function, and runApp() tells Flutter which widget should be drawn first.
Then comes something like:
class MyApp extends StatelessWidget {
  const MyApp({super.key});  @override
  Widget build(BuildContext context) {
    return MaterialApp(
      title: 'My First Flutter App',
      home: const HomePage(),
    );
  }
}
This creates the app shell. MaterialApp gives you Material Design structure such as navigation, theme support, and page handling.
Then the screen itself might be defined as:
class HomePage extends StatefulWidget {
  const HomePage({super.key});  @override
  State<HomePage> createState() => _HomePageState();
}
If your screen has changing data, like a counter, you use StatefulWidget. If the screen is static, StatelessWidget is often enough.
Step 6: Build a simple beginner app instead of only reading theory
Reading code is helpful, but beginners learn much faster by editing the starter app into something more personal. For example, instead of keeping the default counter, convert it into a simple welcome app.
Use this code:
import 'package:flutter/material.dart';void main() {
  runApp(const MyFirstApp());
}class MyFirstApp extends StatelessWidget {
  const MyFirstApp({super.key});  @override
  Widget build(BuildContext context) {
    return MaterialApp(
      debugShowCheckedModeBanner: false,
      title: 'Flutter Beginner App',
      home: const HomeScreen(),
    );
  }
}class HomeScreen extends StatelessWidget {
  const HomeScreen({super.key});  @override
  Widget build(BuildContext context) {
    return Scaffold(
      appBar: AppBar(
        title: const Text('My First Flutter App'),
      ),
      body: Center(
        child: Padding(
          padding: const EdgeInsets.all(20),
          child: Column(
            mainAxisAlignment: MainAxisAlignment.center,
            children: const [
              Icon(Icons.flutter_dash, size: 100),
              SizedBox(height: 20),
              Text(
                'Welcome to Flutter',
                style: TextStyle(fontSize: 28, fontWeight: FontWeight.bold),
              ),
              SizedBox(height: 10),
              Text(
                'This is your first beginner-friendly Flutter application.',
                textAlign: TextAlign.center,
                style: TextStyle(fontSize: 16),
              ),
            ],
          ),
        ),
      ),
    );
  }
}
This small example is powerful for learning because it teaches layout, text, spacing, icons, app bars, widget nesting, and readability.
Step 7: Learn the most important beginner widgets
If you want to build your first Flutter app confidently, you must understand a small core set of widgets. Flutter’s documentation and learning resources revolve around learning through widgets and guided examples.
Text
Used to display labels, headings, descriptions, messages, and content.
Container
Used for layout, spacing, decoration, width, height, background color, and alignment.
Row and Column
Used to place widgets horizontally or vertically.
Center
Places its child in the middle of the available area.
Padding
Adds internal spacing around widgets.
SizedBox
Adds fixed spacing or size.
Image
Displays local or network images.
ElevatedButton
Creates a clickable button.
ListView
Creates scrollable vertical lists.
Scaffold
Provides the basic page structure with app bar, body, floating action button, drawer, and more.
A beginner should not chase all Flutter widgets at once. Learn these core ones deeply first.
Step 8: Understand hot reload and why it matters
Hot reload is one of the best Flutter features for beginners and professionals alike. It allows you to modify code and quickly inject changes into the running app without losing the current state in many cases. This is one reason Flutter development feels fast and productive. Flutter’s beginner materials are built around this rapid edit-and-see workflow.
For example, change a text string, font size, icon, or color, save the file, and immediately observe the result. This instant feedback is excellent for understanding UI construction.
Read : Debug vs Release Mode in Flutter – Complete Advanced Guide
Step 9: Add interactivity with a button
A static UI is good for understanding layout, but a real app becomes interesting when users can interact with it.
Here is a simple interactive example:
import 'package:flutter/material.dart';void main() {
  runApp(const CounterDemoApp());
}class CounterDemoApp extends StatelessWidget {
  const CounterDemoApp({super.key});  @override
  Widget build(BuildContext context) {
    return MaterialApp(
      debugShowCheckedModeBanner: false,
      title: 'Flutter Counter Demo',
      home: const CounterHomePage(),
    );
  }
}class CounterHomePage extends StatefulWidget {
  const CounterHomePage({super.key});  @override
  State<CounterHomePage> createState() => _CounterHomePageState();
}class _CounterHomePageState extends State<CounterHomePage> {
  int count = 0;  void incrementCounter() {
    setState(() {
      count++;
    });
  }  @override
  Widget build(BuildContext context) {
    return Scaffold(
      appBar: AppBar(
        title: const Text('Beginner Counter App'),
      ),
      body: Center(
        child: Text(
          'Count: $count',
          style: const TextStyle(fontSize: 28, fontWeight: FontWeight.bold),
        ),
      ),
      floatingActionButton: FloatingActionButton(
        onPressed: incrementCounter,
        child: const Icon(Icons.add),
      ),
    );
  }
}
This introduces the beginner to state, user action, and UI updates.
Step 10: Add assets like images
Sooner or later, every beginner wants to show images in the app. To do that, place image files inside a folder like assets/images/, then register them in pubspec.yaml.
Example:
flutter:
  assets:
    - assets/images/
Then load an image:
Image.asset('assets/images/sample.png')
This teaches you how Flutter manages resources and how configuration in pubspec.yaml affects app behavior.
Step 11: Understand pubspec.yaml
Many beginners ignore pubspec.yaml at first, but it is one of the most important files in a Flutter project. It defines the app name, description, version, dependencies, fonts, and assets.
If you want to install packages such as HTTP clients, state management tools, image pickers, maps, animations, or storage libraries, you declare them in pubspec.yaml.
A small dependency example:
dependencies:
  flutter:
    sdk: flutter
  cupertino_icons: ^1.0.8
Then run:
flutter pub get
This fetches the package and updates your project.
Step 12: What beginners should learn after the first app
After building your first Flutter app, do not immediately jump to advanced architecture or complex state management. Build your foundation in the right order.
A strong next path is:
- Layouts and widgets
- Navigation between screens
- Forms and text fields
- Lists and cards
- Assets and themes
- API fetching
- Local storage
- State management
- App architecture
- Testing basics
Flutter’s learning pathway and learning-resources catalog support this gradual progression from setup to structured app building and best practices.
Repeat the same mini-project with changes
After completing a codelab, rebuild it with changes:
- change colors
- modify layout
- rename classes
- add one extra button
- add one text field
- swap icons
- move widgets into separate files
This transforms borrowed understanding into your own understanding.
Use codelabs as targeted practice
Flutter’s learning resources include codelabs, recipes, and samples. Use codelabs when you want guided hands-on practice, and use recipes when you want to solve one specific problem.
Follow topic-wise, not randomly
A smart beginner order is:
- basic widgets
- layouts
- state
- navigation
- forms
- API and async
- animations
- architecture
Flutter also has dedicated official animation learning content when you reach that stage.
Common mistakes beginners make in Flutter
One of the fastest ways to improve is to avoid the mistakes that almost every beginner makes.
Copy-pasting without understanding
Do not build your knowledge only by copying code from YouTube or GitHub. Type it, break it, fix it, and experiment with it.
Jumping into state management too early
You do not need GetX, Riverpod, Bloc, or Provider on day one. First understand widgets, state, and rebuild behavior.
Ignoring Dart basics
Flutter uses Dart. The beginner pathway includes Dart learning before deeper Flutter work for a reason. Knowing variables, functions, classes, null safety, and lists will make Flutter far easier.
Read : Introduction to Dart programming Language ( Basic for Flutter Development )
Trying to learn everything in one week
Flutter is broad. Focus on one concept at a time and build small apps repeatedly.
A realistic beginner practice plan
If you genuinely want to become comfortable with Flutter, follow a repeatable short practice model.
Day 1: setup Flutter and run the default app
Day 2: edit texts, icons, and spacing
Day 3: build a simple profile or welcome app
Day 4: build a counter app with custom UI
Day 5: add images and theme colors
Day 6: add navigation to a second screen
Day 7: make a mini app from scratch without copying line by line
This method is far better than watching ten unrelated tutorials.
Conclusion
Building your first application with Flutter is one of the best ways to enter modern app development. Flutter gives beginners fast visual feedback, a clean widget-based design system, excellent documentation, and structured official learning resources. If you start with the basics, practice small UI apps, understand widgets properly, and use the official Flutter learning pathway and codelabs in a disciplined way, your progress will be much faster and more stable than randomly following disconnected tutorials.
The biggest advice is simple: do not wait to become “ready” before building. Your first Flutter app does not need to be perfect. It just needs to be built. Once you build one screen, then one button, then one list, then one form, you will stop feeling like Flutter is a big unknown system and start feeling that it is a practical tool you can actually control.
Read : Flutter Developer Roadmap 2026: Complete Skill Path, Career Scope, and Future Trends
FAQ: Flutter for Beginners
Flutter is an open-source UI toolkit developed by Google that allows developers to build Android, iOS, web, and desktop applications from a single codebase. It is beginner-friendly because it uses a simple widget system and provides fast development with features like hot reload.
Yes, basic knowledge of Dart programming helps when learning Flutter. Dart is the programming language used by Flutter to build applications. However, beginners can learn Dart and Flutter together while building simple projects.
Most beginners can build their first Flutter application within 30–60 minutes after installing Flutter. The first app usually includes a simple UI, text widgets, buttons, and basic interaction.
Yes. Flutter is a cross-platform framework, which means the same codebase can run on Android, iOS, web, desktop, and other platforms.
Yes. Flutter is considered one of the best frameworks for beginners because it has clear documentation, a large community, and a fast development cycle using hot reload.