

Flutter Install Windows: Flutter setup guide step by step process for windows

Windows – Flutter documentation (Flutter Install Windows) : Your choice informs which parts of Flutter tooling you configure to run your first Flutter app. here are the step-by-step instructions for setting up Flutter on Windows:
How do I install Flutter on Windows?
Requirements:
- Windows 7 SP1 or later (64-bit)
- Disk space: 400 MB (excluding IDE/Tools)
- Tools: Git, Visual Studio Code (optional but recommended)
Download Flutter:
- Download the latest stable release of Flutter from the official Flutter website: https://flutter.dev/docs/get-started/install/windows#get-the-flutter-sdk
Extract the downloaded file:
- Extract the zip file to any directory you want (e.g. C:\src\flutter).
Add Flutter to PATH:
- Add the Flutter bin directory to your system PATH variable by following these steps:
- Open the Start menu and search for “environment variables”.
- Select “Edit the system environment variables”.
- Click on the “Environment Variables” button.
- Under “System variables”, select “Path” and click “Edit”.
- Click “New” and enter the path to the Flutter bin directory (e.g. C:\src\flutter\bin).
- Click “OK” to close all the windows.
Read Articles: How to Set Flutter Path in Windows (Step-by-Step Guide for Beginners)
Install Android Studio:
- Download and install Android Studio from the official website: https://developer.android.com/studio
- Follow the installation wizard to install Android Studio and its dependencies.
Set up Android Studio:
- Open Android Studio and go to “Settings” -> “Plugins”.
- Search for “Flutter” and click on “Install” to install the Flutter plugin for Android Studio.
- Click “Yes” to install Dart.
Read Articles: How to Android SDK Setup steps for Faster Flutter Development
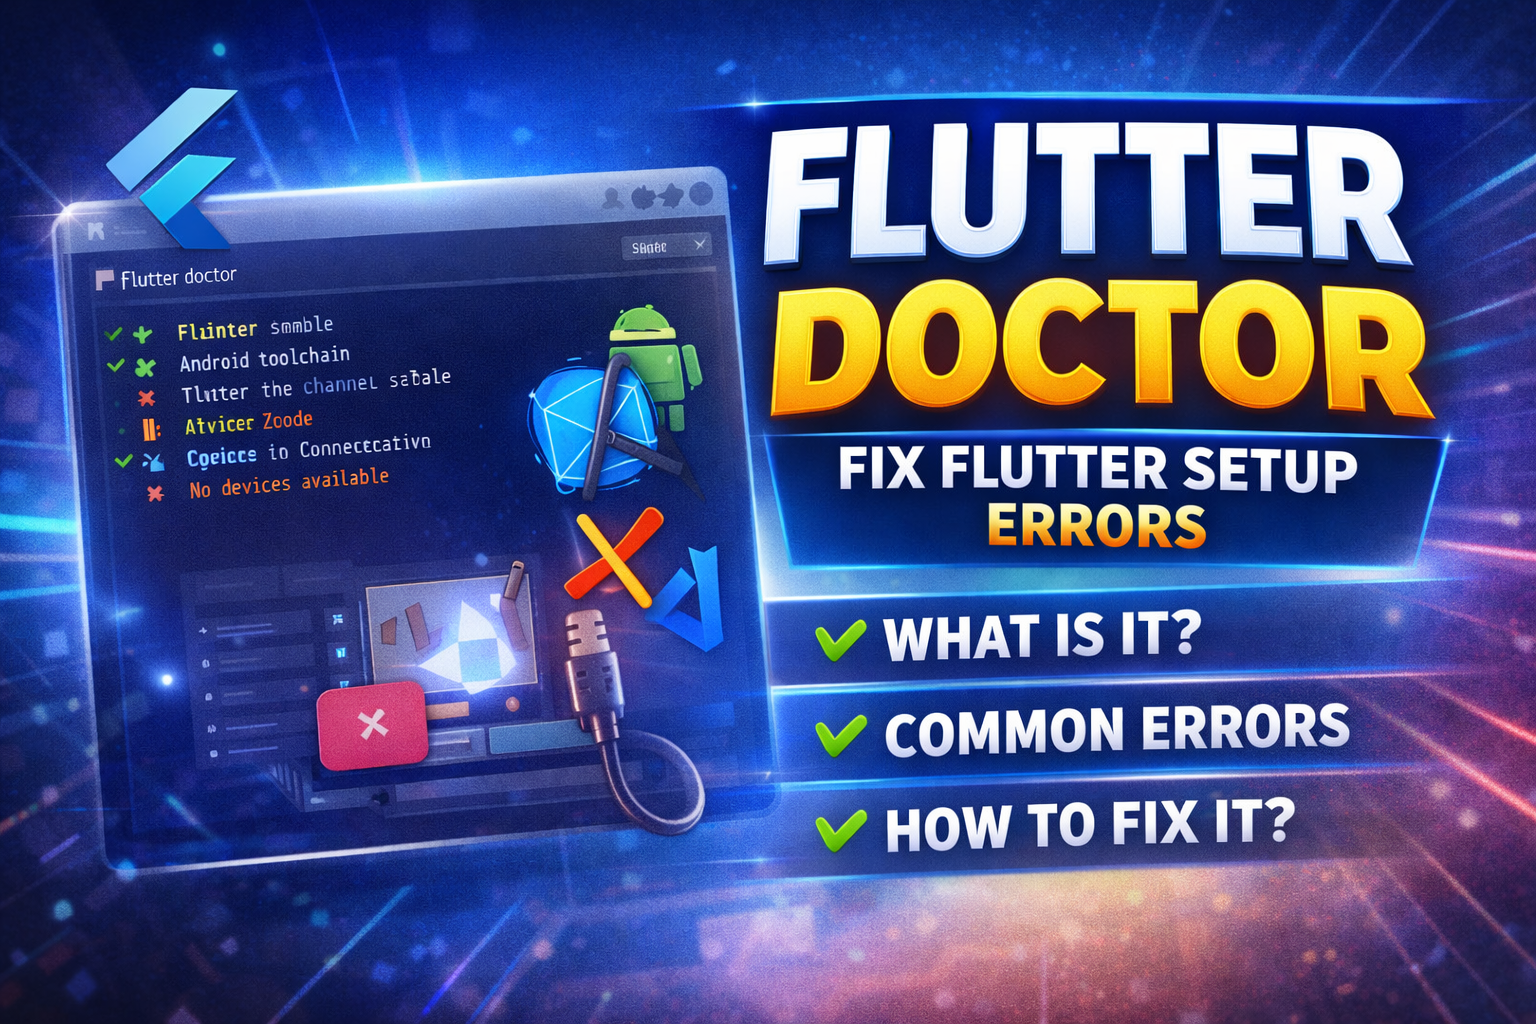
Verify the Flutter installation:
- Open a command prompt and type “flutter doctor“.
- This will check if your Flutter installation is complete and if there are any missing dependencies that need to be installed.
Congratulations! You have successfully set up Flutter on your Windows machine.
Note: You can also use other IDEs like IntelliJ IDEA, Visual Studio, or Android Studio Code with the Flutter plugin installed.
Read : Flutter Tutorial 2026 | Flutter Tutorial for Beginners
Build and release a Windows desktop app
This guide provides a step-by-step walkthrough of packaging and deploying a Flutter app in this way.
https://docs.flutter.dev/deployment/windows
Step-by-Step Guide to Installing Flutter and Dart on Windows
Step 1: Download Flutter SDK: Download the following installation bundle to get the latest stable release of the Flutter SDK.
Flutter SDK Download Process for Wndows, Mac & Linux
Windows install | Flutter
Get the Flutter SDK · Download the following installation bundle to get the latest stable release of the Flutter SDK: flutter_windows_3.24.5-stable.zip.
https://flutter-ko.dev/get-started/install/windows
if you facing installation error in flutter Read : Flutter Install Error Fixes Guide for Windows, Mac & Linux
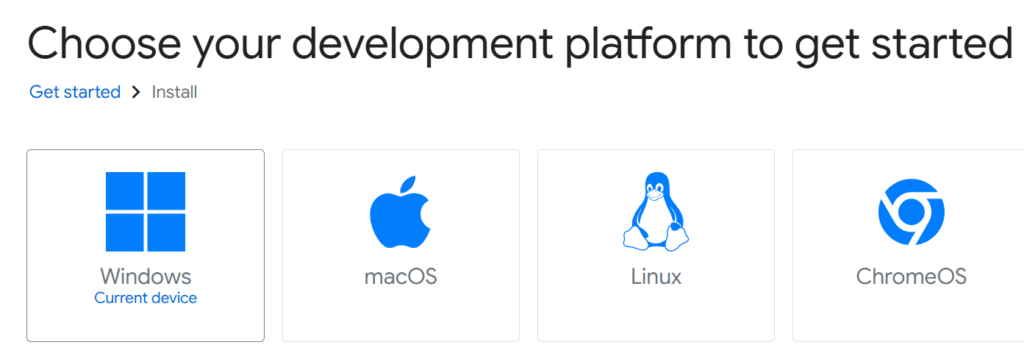
Choose your development platform to get started
Install Flutter and get started. Downloads available for Windows, macOS, Linux, and ChromeOS operating systems.
Read : Flutter Developer Roadmap 2026: Complete Skill Path, Career Scope, and Future Trends
https://docs.flutter.dev/get-started/install
Read Articles :How to Build Your First App with Flutter: Beginner-Friendly Step-by-Step Tutorial
Flutter Install Cheatsheet Download
Flutter Install Windows You tube Video
Read : How to Update Flutter SDK (Step by Step Guide for Developers)
A proper Flutter installation on Windows is not just about extracting the SDK folder and running commands. You also need Git installed, the Flutter path added correctly, Android Studio or VS Code configured properly, and flutter doctor checked for missing components. In many cases, users complete the Flutter install process but still run into errors related to the Flutter SDK path, Android SDK setup, or the message that the Flutter directory is not a clone of the GitHub project. For a complete setup, also go through our articles on downloading Flutter SDK, fixing Flutter installation errors on Windows, configuring Flutter SDK path in Android Studio, and using FVM for Flutter version management.
FAQ – Flutter Install Windows (Step-by-Step Guide)
To start flutter install windows, follow these steps:
Download Flutter SDK from the official website (flutter.dev).
Extract the ZIP file to C:\flutter (avoid Program Files).
Add C:\flutter\bin to your System Environment Variables (Path).
Open Command Prompt and run:
flutter doctor
Install missing dependencies shown by flutter doctor.
This completes the basic Flutter install Windows setup process.
flutter doctor checks:
Flutter SDK installation
Android toolchain
Windows desktop toolchain
Connected devices
IDE plugins
It tells you what is missing in your flutter install windows setup.
Yes.
For basic flutter install windows:
Install Flutter SDK
Install VS Code
Install Flutter & Dart extensions
Install Android SDK separately if needed
Android Studio is optional but recommended for beginners.
Normally:
Flutter SDK download: 5–10 minutes
Android Studio: 10–20 minutes
Visual Studio: 15–30 minutes
Setup + configuration: 20 minutes
Total flutter install windows time: 30–60 minutes depending on internet speed.
Best practice for flutter install windows:
C:\flutter
Avoid:
Desktop
Downloads folder
Program Files
Because permission issues may occur.
Yes.
If you follow the step-by-step flutter install windows guide carefully and run flutter doctor at each stage, beginners can complete it without technical background.
Flutter SDK is used to create fast and beautiful cross-platform applications. It helps developers save time by writing one codebase for multiple platforms.
To fix a Flutter install Windows problem, download Flutter from the official install flow, extract the SDK to a simple folder, and add the Flutter bin directory to the Windows Path environment variable so the flutter and dart commands work correctly.
A Flutter not installing on Windows issue can happen because the SDK was not extracted properly, the Path variable was not updated, antivirus interfered with files, or the IDE is pointing to the wrong SDK location. Flutter docs specifically mention antivirus quarantine as a possible cause when flutter.bat is missing.
If your Flutter install is stuck on Windows while using the VS Code flow, Flutter’s quick install guidance says that if the download appears hung, cancel it and start the installation again.
Yes. Once Flutter is installed and its bin folder is added to Path, Flutter docs indicate that both flutter and dart command-line tools should be available.
Yes. Flutter provides a VS Code-based installation path for Windows, including adding the SDK to PATH from the setup flow.
After installation, verify the SDK path, confirm that flutter and dart commands run in the terminal, and then continue with your target platform setup such as Android or Windows desktop.
Yes. Flutter provides an official SDK archive for current and previous releases, which is useful if you need a specific version for compatibility.
Yes. Once Flutter is installed and its bin folder is added to Path, Flutter docs indicate that both flutter and dart command-line tools should be available.
Install Android Studio and complete the Android SDK setup.
Then accept licenses and recheck using flutter doctor.
Install the Flutter extension in VS Code.
Then reopen the editor and open the project folder again.
Add C:\src\flutter\bin to the Windows Environment Variables PATH.
Open Command Prompt and run flutter doctor.
Download Android Studio, install Android SDK, emulator, and required command-line tools.
Are you confused about Dart SDK and Flutter SDK ? : Dart SDK vs Flutter SDK: Architecture, Differences, and How Flutter Uses Dart