

Android Studio Download (Latest) for Windows, macOS and Linux for Flutter

Flutter has rapidly emerged as one of the most powerful frameworks for cross-platform mobile application development. Developers across the world use Flutter to build high-performance applications for Android, iOS, Web, and Desktop from a single codebase. However, to build Flutter apps efficiently, a proper development environment is essential. One of the most recommended and widely used Integrated Development Environments (IDE) for Flutter development is Android Studio.
Android Studio provides powerful tools such as code completion, debugging, emulator management, performance profiling, and seamless integration with Flutter plugins. Whether you are developing on Windows, macOS, or Linux, installing Android Studio correctly is the first step toward building professional Flutter applications.
This comprehensive guide explains how to download the latest version of Android Studio for Flutter development and install it step-by-step on Windows, macOS, and Linux systems.
Why Android Studio is Best for Flutter Development
Although Flutter supports several editors like Visual Studio Code, Android Studio remains the most feature-rich development environment for Flutter developers.
Some of the major advantages include:
1. Powerful Development Environment
Android Studio provides an intelligent code editor with smart auto-completion, error detection, and refactoring capabilities. These features significantly improve productivity when developing large Flutter applications.
2. Built-in Emulator Support
Developers can run Flutter apps directly on virtual Android devices without needing physical hardware. The Android Emulator allows testing on multiple screen sizes and Android versions.
3. Flutter Plugin Integration
Android Studio offers official Flutter and Dart plugins that provide Flutter-specific features like widget inspection, hot reload support, and performance analysis.
4. Advanced Debugging Tools
Debugging Flutter apps becomes easier with breakpoints, variable inspection, and memory analysis tools.
5. Official Google Support
Since Flutter is developed by Google, Android Studio receives direct support and updates that improve compatibility with Flutter SDK.
System Requirements for Android Studio
Before downloading Android Studio, ensure your system meets the following requirements.
Minimum Hardware Requirements
RAM
- Minimum: 8 GB
- Recommended: 16 GB for smooth emulator performance
Storage
- At least 10 GB free disk space
Processor
- 64-bit processor with virtualization support
Operating System Requirements
| Platform | Required Version |
|---|---|
| Windows | Windows 10 / Windows 11 |
| macOS | macOS 12 Monterey or later |
| Linux | 64-bit Linux distributions |
Download Android Studio (Latest Version)
To download the latest version of Android Studio:
- Visit the download page
- Choose your operating system
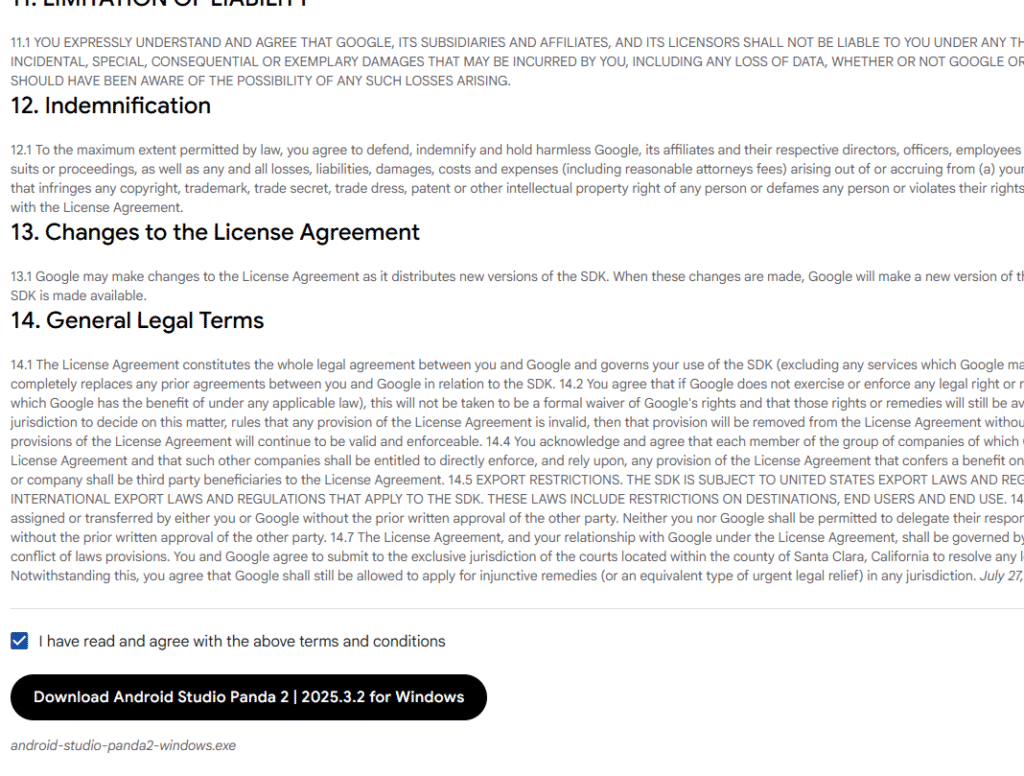
- Accept the license agreement
- Download the installer
Step-by-Step Guide: Android Studio Download for Windows
Step 1: Download Installer
Visit the official Android Studio website and click:
Download Android Studio for Windows
This will download a file similar to:
android-studio-xxxx-windows.exe
check terms and condtions box like this :
Step 2: Run Installer
Double-click the downloaded .exe file.
The Android Studio Setup Wizard will open.
Click:
Next
Step 3: Select Components
Ensure these components are selected:
- Android Studio
- Android SDK
- Android Virtual Device (AVD)
Click:
Next
Step 4: Choose Installation Location
Default location:
C:\Program Files\Android\Android Studio
Click Next to continue.
Step 5: Complete Installation
Click:
Install
Wait until installation finishes.
Finally click:
Finish
Android Studio will launch automatically.
Android Studio Installation Guide for macOS
Step 1: Download macOS Package
Download the macOS version:
android-studio-xxxx-mac.dmg
Step 2: Open DMG File
Double-click the downloaded DMG file.
You will see the Android Studio icon.
Step 3: Drag to Applications
Drag Android Studio into the Applications folder.
This installs Android Studio on macOS.
Step 4: Launch Android Studio
Open Launchpad → Android Studio
The setup wizard will start automatically.
Step 5: Install Required SDK
Android Studio will automatically download:
- Android SDK
- Platform Tools
- Emulator components
Follow the setup instructions and complete installation.
Android Studio Installation Guide for Linux
Linux developers can install Android Studio using either a tar archive or Snap package.
Method 1: Install Using TAR File
Step 1: Download Linux Package
Download:
android-studio-xxxx-linux.tar.gz
Step 2: Extract File
Open terminal and run:
tar -xvf android-studio-xxxx-linux.tar.gz
Step 3: Navigate to Folder
cd android-studio/bin
Step 4: Run Android Studio
./studio.sh
Android Studio setup wizard will open.
Method 2: Install Using Snap (Easiest)
Run:
sudo snap install android-studio --classic
This installs Android Studio automatically.
Read : Android Studio AI: Complete Guide to Building Apps with AI-Powered Project Generation
Install Flutter and Dart Plugins in Android Studio
After installing Android Studio, the next step is to install Flutter support.
Step 1: Open Plugin Manager
Go to:
File → Settings → Plugins
Step 2: Search for Flutter
Search for:
Flutter
Install the Flutter plugin.
this will look like this :

Step 3: Install Dart Plugin
When installing Flutter plugin, Android Studio will automatically suggest installing Dart plugin.
Click:
Install
Restart Android Studio.
Configure Flutter SDK in Android Studio
After installing plugins:
- Open Android Studio
- Go to
File → Settings → Flutter
- Select Flutter SDK path
Example:
C:\flutter
Click Apply.
Verify Flutter Installation
Open terminal and run:
flutter doctor
You should see output similar to:
✓ Flutter
✓ Android toolchain
✓ Android Studio
✓ Connected device
If all checks are successful, your Flutter development environment is ready.
Read : How to Set Flutter Path in Windows (Step-by-Step Guide for Beginners)
Create Your First Flutter Project
To create a new Flutter project:
- Open Android Studio
- Click New Flutter Project
- Select Flutter Application
- Enter project name
- Choose Flutter SDK path
- Click Finish
Android Studio will generate a complete Flutter project template.
Running Flutter App in Android Emulator
To run your Flutter app:
- Open Device Manager
- Create a new Android Virtual Device
- Select a device model
- Choose Android system image
- Launch emulator
- Click Run
Your Flutter application will start running on the emulator.
Tips for Faster Flutter Development in Android Studio
Use Hot Reload
Flutter supports Hot Reload, which allows developers to instantly see UI changes without restarting the application.
Enable Hardware Acceleration
Ensure virtualization (VT-x / AMD-V) is enabled in BIOS for faster emulator performance.
Use Latest Flutter Version
Regularly update Flutter using:
flutter upgrade
Read : How to Update Flutter SDK (Step by Step Guide for Developers)
Common Android Studio Installation Problems
1. Flutter SDK Not Detected
Solution: Set Flutter SDK path manually in Android Studio settings.
Look like this:
2. Emulator Slow
Solution: Enable hardware acceleration and increase RAM allocation.
3. SDK Tools Missing
Solution: Install Android SDK components using SDK Manager.
Read : Flutter Doctor command — What is flutter doctor (2026 Complete Guide)
Conclusion
Setting up Android Studio properly is a crucial step in becoming a productive Flutter developer. By installing the latest version of Android Studio on Windows, macOS, or Linux, developers gain access to powerful tools that streamline mobile app development.
With Flutter’s cross-platform capabilities and Android Studio’s advanced development features, developers can build scalable, high-performance applications efficiently. Whether you are a beginner starting your Flutter journey or an experienced developer building enterprise apps, mastering the Android Studio setup process will significantly improve your development workflow.
If you are planning to start Flutter development today, installing Android Studio and configuring Flutter SDK should be your first step toward building modern mobile applications.
Read : Android Studio Download and Android SDK Setup steps for Flutter Development
Keywords:
- Android Studio download for Flutter
- Android Studio latest version download
- Android Studio for Windows Flutter
- Android Studio for macOS Flutter
- Android Studio for Linux Flutter
- how to install Android Studio for Flutter
- Flutter Android Studio setup
- Android Studio Flutter plugin installation
Frequently Asked Questions
Android Studio is not strictly necessary for Flutter development, because Flutter also works with editors like Visual Studio Code. However, Android Studio is one of the best options for Flutter because it provides a full development environment with emulator support, debugging tools, SDK management, and official Flutter and Dart plugin integration.
You can download the latest Android Studio version from the official Android developer website. Always use the official source to avoid outdated or unsafe installers. After downloading, install it based on your operating system and then add Flutter and Dart plugins.
Yes, Android Studio supports Windows, macOS, and Linux. Flutter developers on all three platforms can use Android Studio for coding, testing, debugging, and running Android emulators.
To use Android Studio for Flutter development, you need the Flutter plugin. Once you install the Flutter plugin, Android Studio will also prompt you to install the Dart plugin, which is required for Flutter applications.
After installing Android Studio and the Flutter plugin, go to the Flutter settings inside Android Studio and select the Flutter SDK path on your system. Once the path is set correctly, Android Studio can create and run Flutter projects.
Yes, Android Studio is completely free to download and use. It is officially provided for Android and Flutter development without any licensing cost for standard development use.
This usually happens when Flutter SDK is not installed correctly, the SDK path is wrong, or environment variables are not configured properly. You can fix it by manually selecting the correct Flutter SDK path in Android Studio settings and running flutter doctor in the terminal.
Android Studio is often preferred by developers who want a complete IDE with built-in emulator, profiling, and advanced debugging tools. VS Code is lighter and faster for many developers. The better choice depends on your workflow, but Android Studio is especially useful for full Flutter setup and emulator management.
At least 8 GB RAM is usually required for basic performance, but 16 GB RAM is strongly recommended if you plan to run emulators and large Flutter projects smoothly.
Yes, beginners can absolutely use Android Studio for Flutter. It offers a guided setup, plugin support, project templates, and many visual tools that make Flutter app development easier to learn.